For additional weather information please look at the following resources:
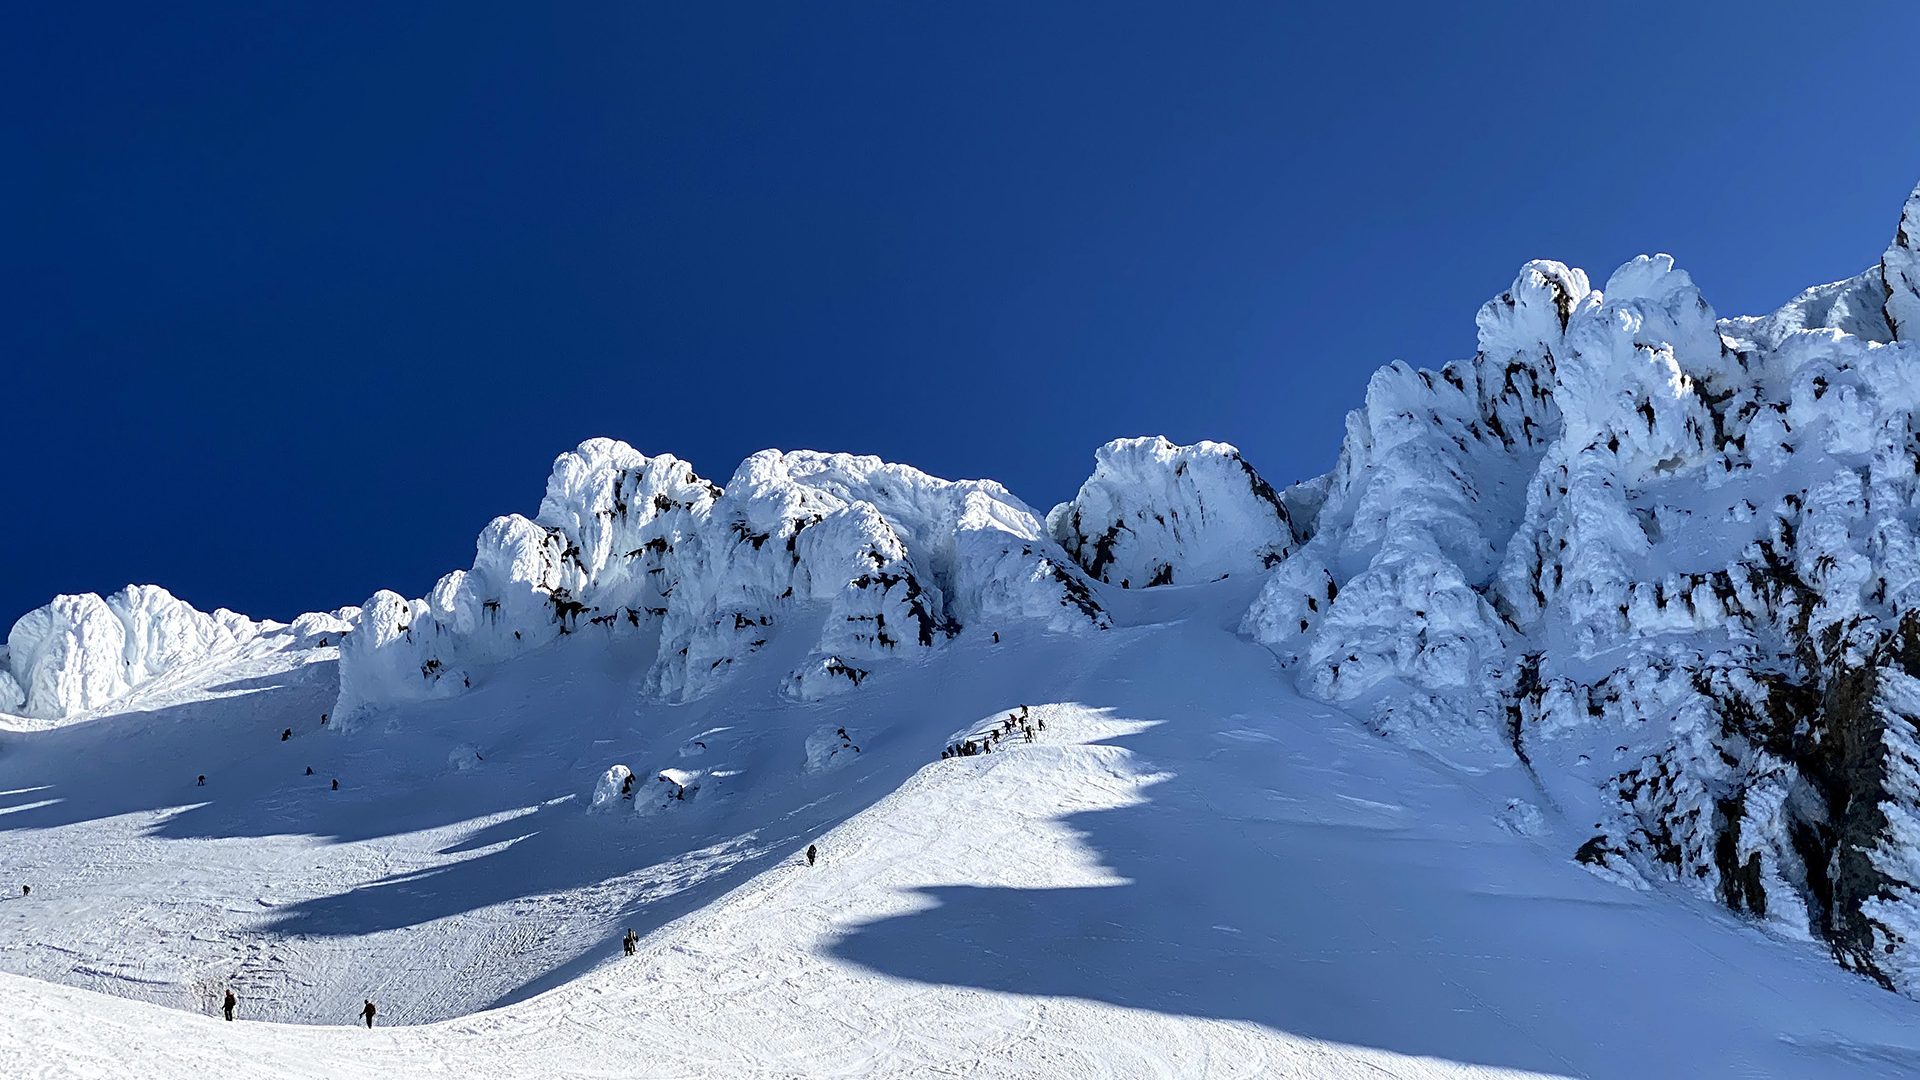
Ascent
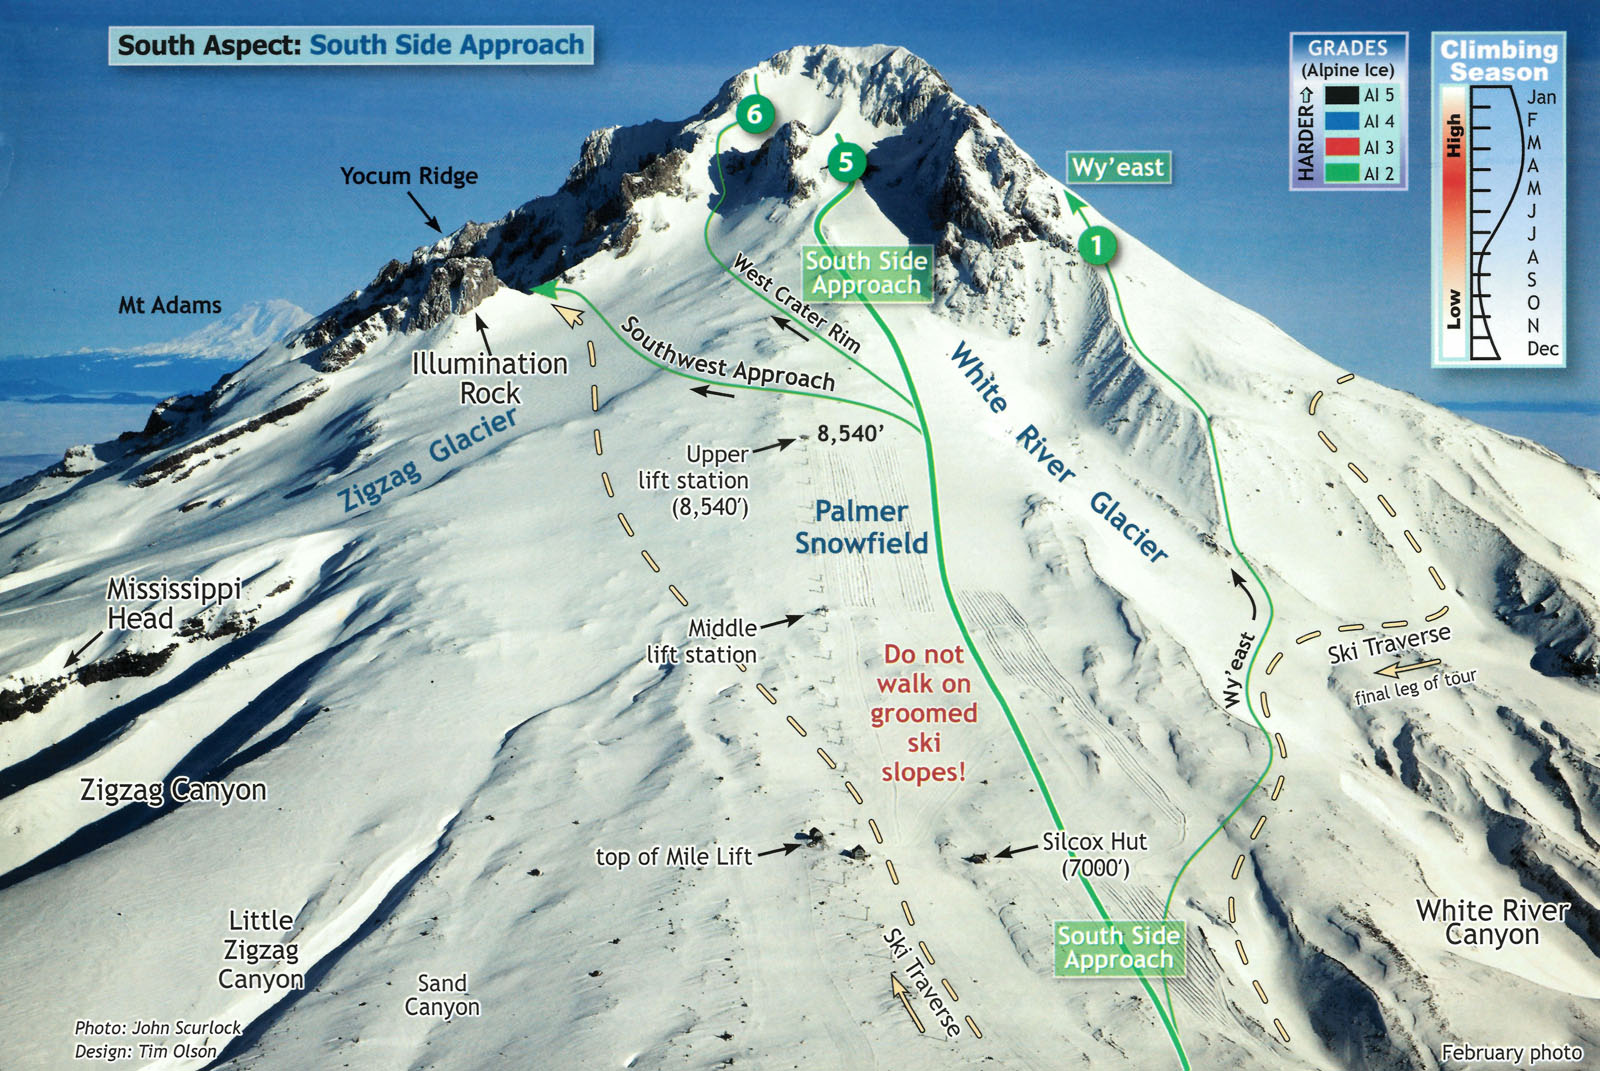
A typical schedule for a south side climb of Mt. Hood might look like this:
- 11:00 PM – Arrive at Timberline Lodge parking area (5,924′).
- Check in, organize gear and use the restroom.
- 12:00 AM – Depart the parking area.
- 1:30 AM – Arrive at Silcox Warming Hut (7,016′).
- Take a break, if needed, using Silcox Hut as a windbreak.
- 4:00 AM – Arrive at Upper Palmer Lift House (8,540′).
- Take another break, check weather and visibility.
- If either is poor consider waiting for better conditions, or turning around.
- 5:30 AM – Arrive at Crater Rock (10,524′).
- This is the best spot to put on crampons, harnesses, etc.
- It is also as far as you should go if you are not prepared for a climb.
- 7:00 AM – Summit (11,245′).
- Enjoy the views, a snack, a drink, take some photos, and turn around.
- You’ll want to be back to Crater Rock before rock/ice fall danger rises around 9AM
- 8:30 AM – Arrive back at Crater Rock.
- Take off your crampons, harness, etc. By now conditions are generally warm enough to not need crampons. Keep them on if you feel more comfortable.
- 12:30 PM – Arrive back at Timberline Lodge parking area.
- Take breaks at the Upper Palmer Lift House and/or Silcox Hut if you’d like.
Mt. Hood climbs can take between 2 – 24 hours round trip, depending on your schedule. Most climbers want to be done in a day and, unless you are planning on setting a speed record, that means leaving in the early morning and returning in the early afternoon. Typically climbers leave the Timberline Lodge parking lot between 11pm and 2am. Someone who has prepared properly to climb can average 1,000 vertical feet per hour, at that rate it will take a little over 5 hours to summit.
A start time should be established based on an estimated pace and your desired summit hour. It is strongly recommend that you summit no later than 8am to avoid peak rock and ice fall hours. If you are in good shape and have trained to climb Mt. Hood you can estimate 4-7 hours to summit. Other climbers should prepare for a longer climb, maybe 6 – 9 hours.
If you are unsure of where to start, play it safe and follow the Magic Mile Ski lifts which start 100 yards west of the Timberline Lodge. They will guide you to the top of the Palmer Snowfield and end at the upper lift station.
In conditions with good visibility you should be able to spot Crater Rock and head straight towards it, while veering slightly to the right. The route to get up to Crater Rock and the Hogsback will traverse the Triangle Moraine – crampons may or may not be useful here.
Proceed quickly through the Devil’s Kitchen area and avoid breathing in the fumes. You should be able to visibly make out the base of the Hogsback where it conjoins with Crater Rock.
Pearly Gates or Old Chute?
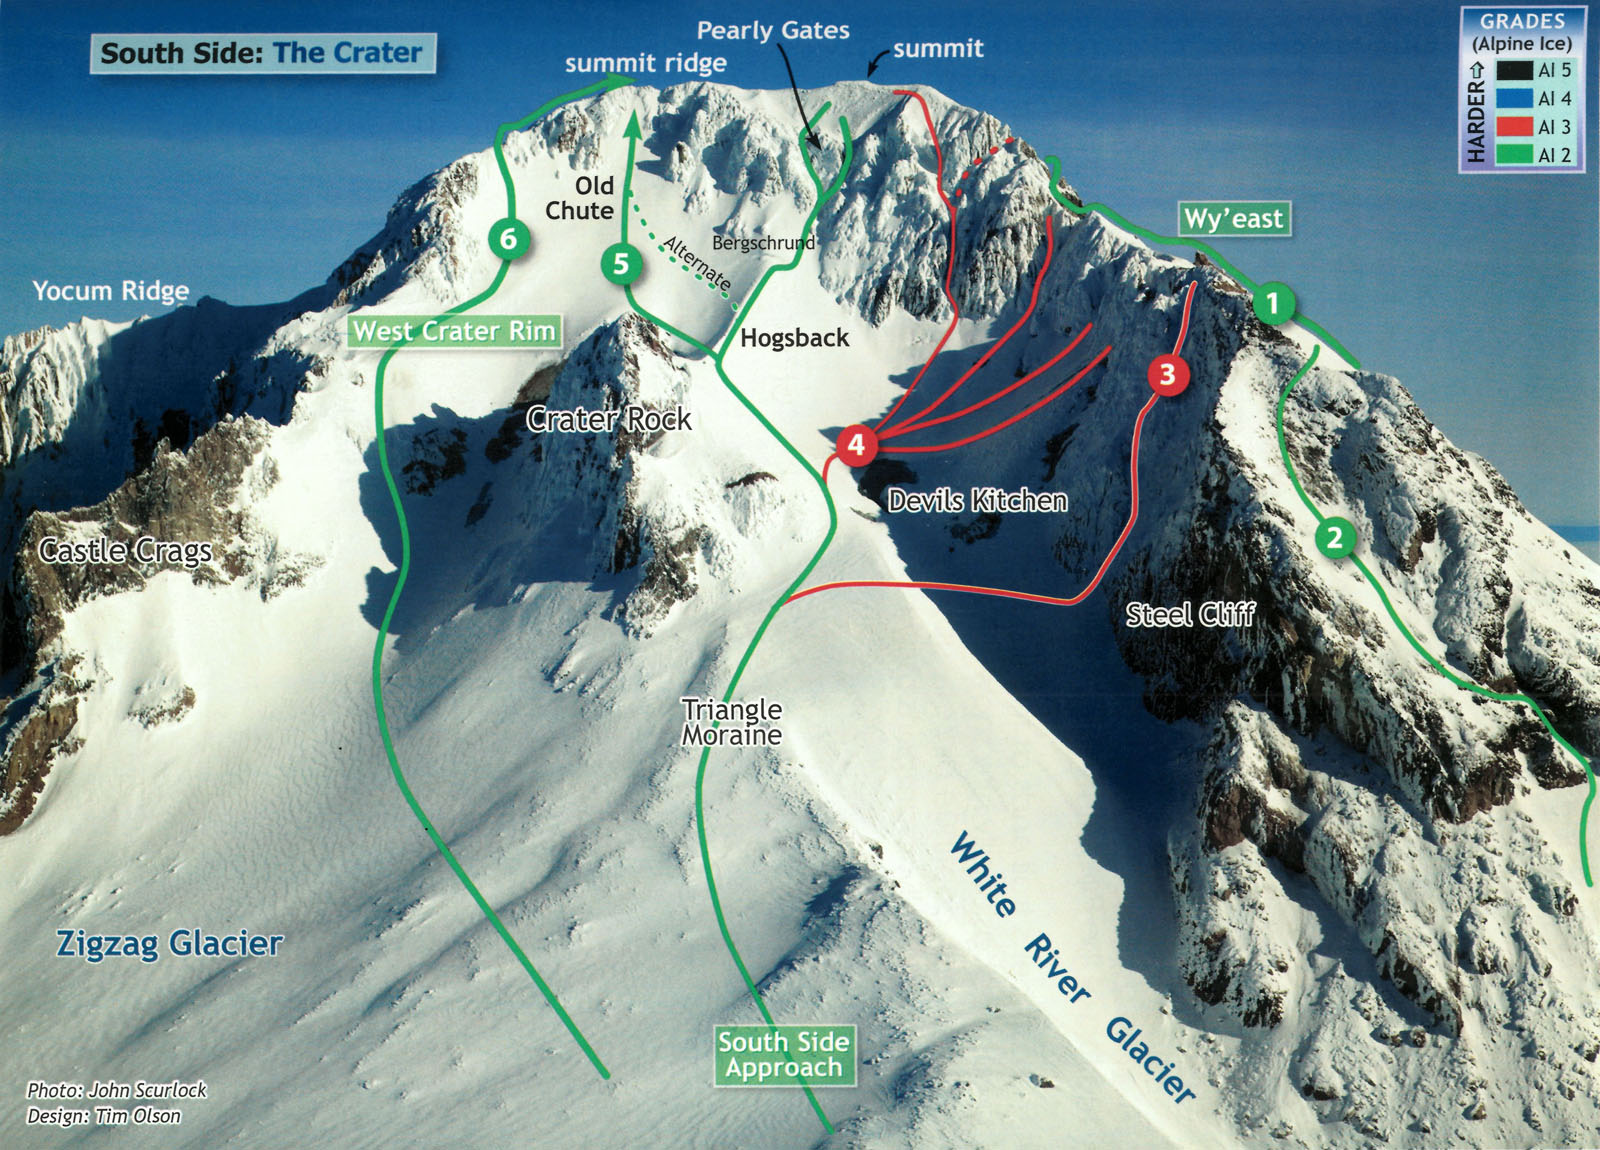
The next phase of the climb typically comes down to: Pearly Gates or Old Chute? While resting at the base of the Hogsback you will have a chance to observe the chosen routes of other climbers and assess the risks involved.
Ultimately, conditions dictate which route is best. The most direct route to the summit from Crater Rock is the Pearly Gates, however there is no guarantee that it can be safely traversed. Depending on the season and the year it can be a solid wall of ice. Unless ascending through the Old Chute, climbers must circumvent the Bergschrund. Although other crevasses can open up later in the spring the Bergschrund is a fairly consistent danger. The Pearly Gates themselves tend to be the steepest (30 to 40 degrees) section of the entire climb, and has the most danger of rock and ice fall. Proper climbing gear is required to navigate this route safely and decrease risk to yourself and other climbers. The Old Chute has a lot of the same dangers but is generally less steep albeit a longer traverse to reach the summit.
If conditions are in your favor and all of the steps you’ve taken so far are successful you will be on the summit in a matter of minutes after passing through the Pearly Gates or walking along the summit ridge from Old Chute. Unfortunately the danger does not cease once you make it to the summit as cornices, high winds, and freezing temperatures are often present.
All that being said – allow yourself to bask in the glory for a minute before heading down.
Descent
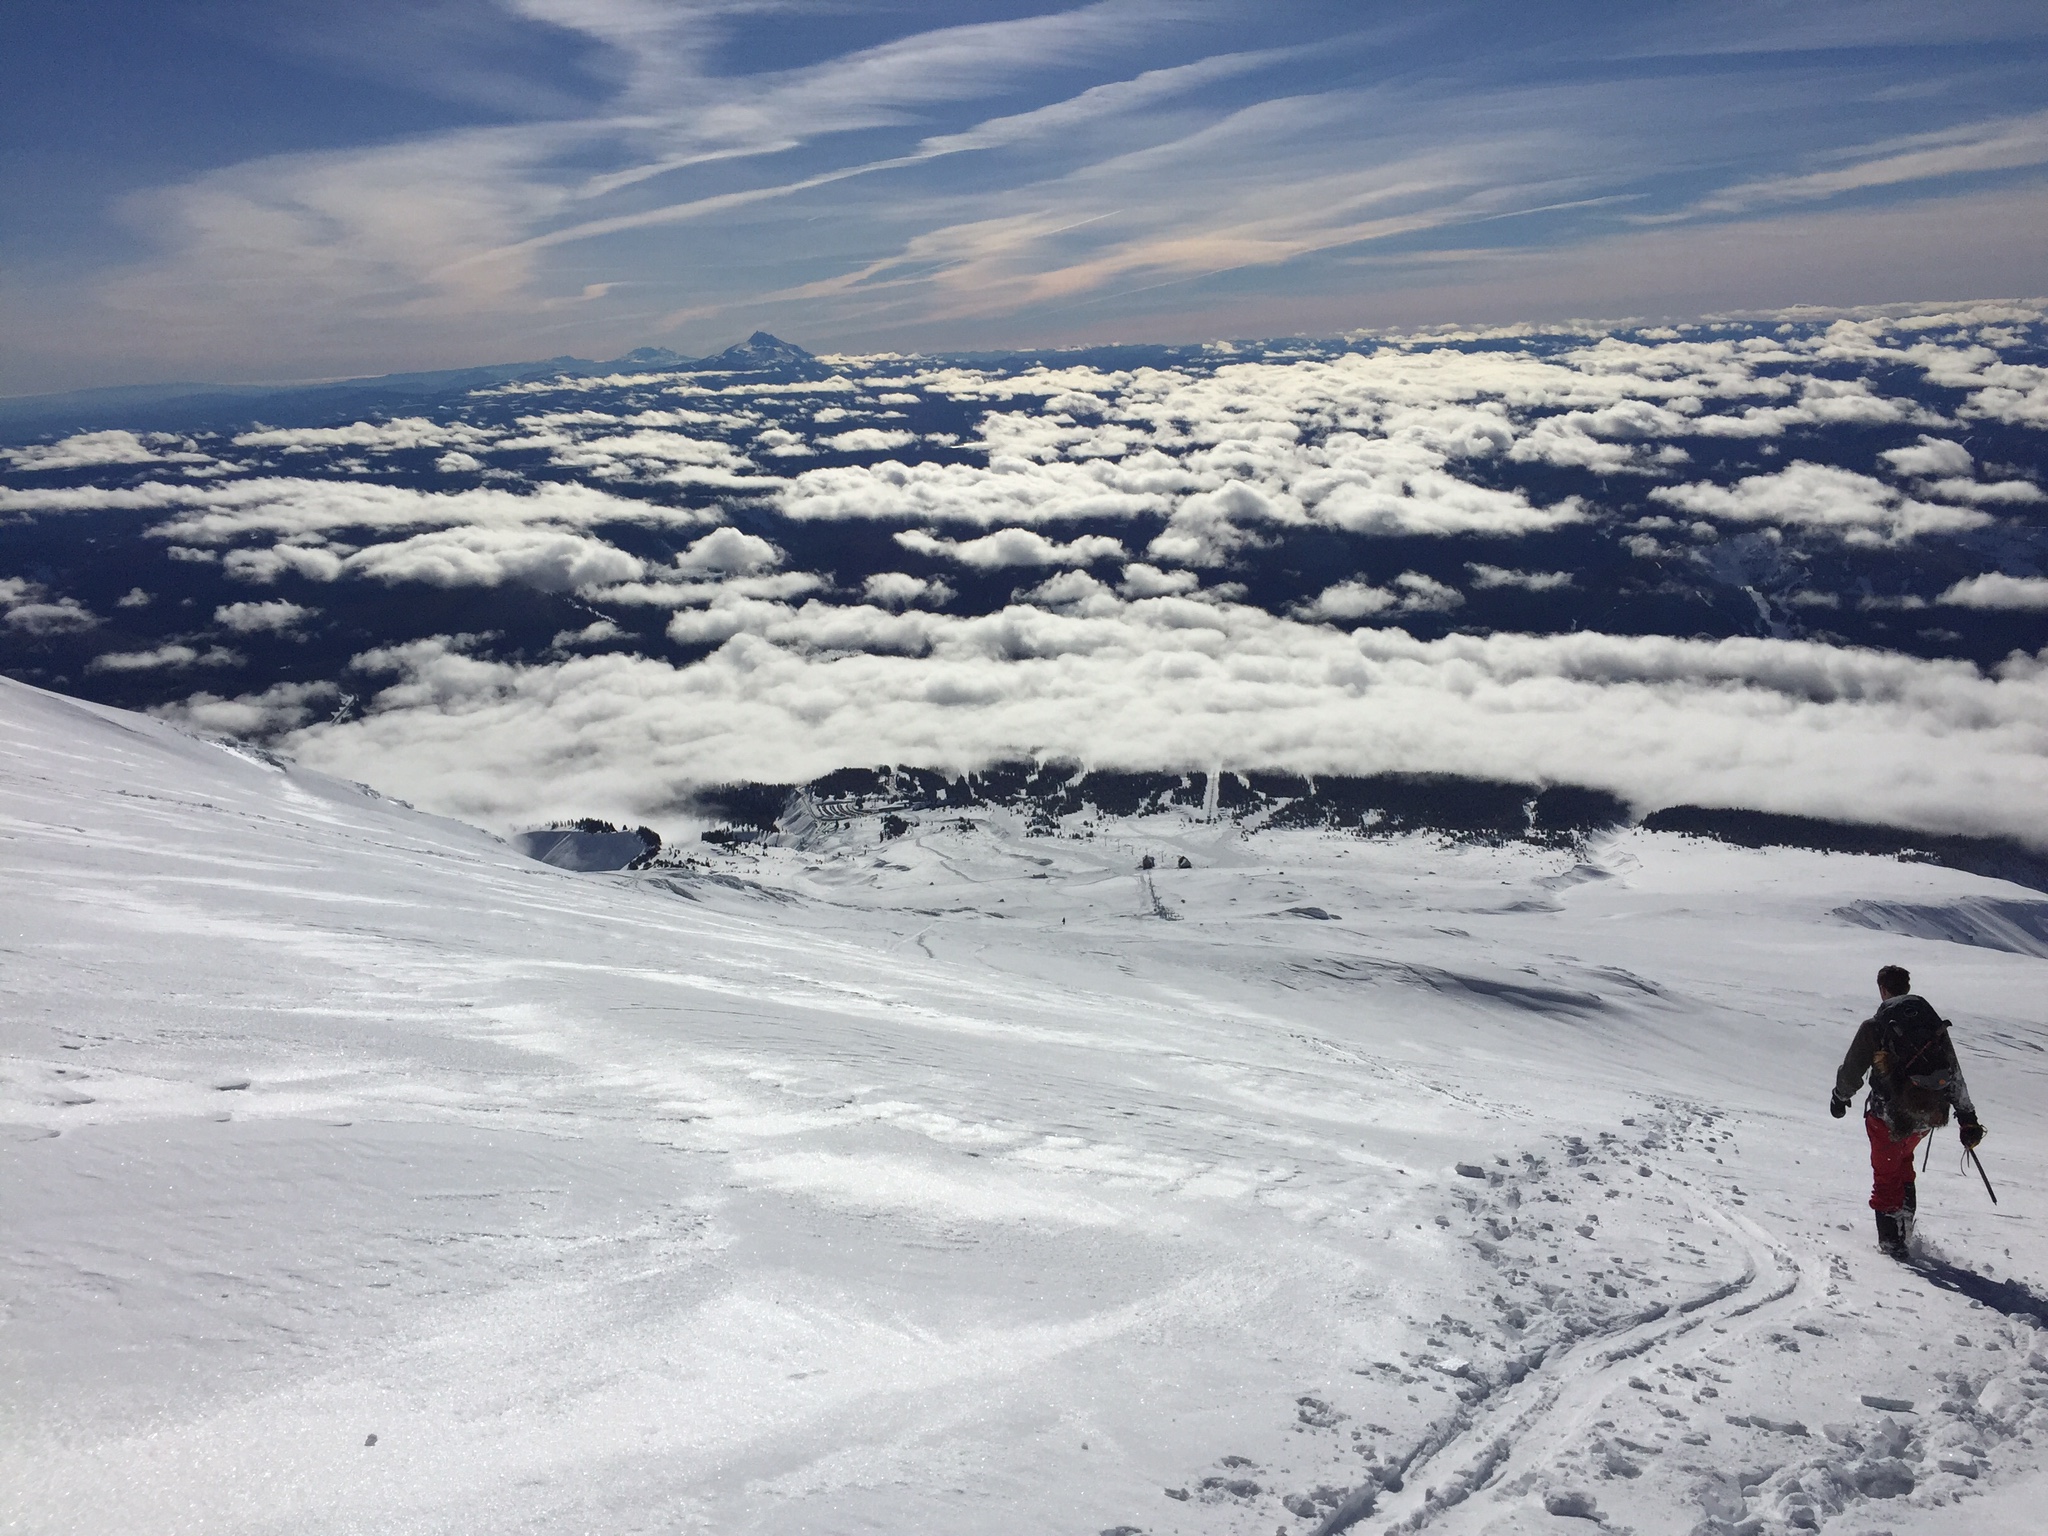
Descending from the summit to the parking lot will take you approximately half the time it took you to summit. If you reached the summit in 6 hours it may take you 3-4 hours to get back. Descending is a challenge in and of itself. You will be tired, and using a whole new set of muscles. But gravity is on your side, and there will be far fewer breaks (perhaps just the one to take off your crampons). Generally you should descend the route that you came up, however the Old Chute is usually the easiest route to get back down.
All climbers should be aware of the elements of risk associated with climbing on Mt. Hood. While some dangers are more likely to occur during particular seasons it’s important to be familiar with each type and how to avoid, prevent, or mitigate the risk associated.
Rock / Ice Fall
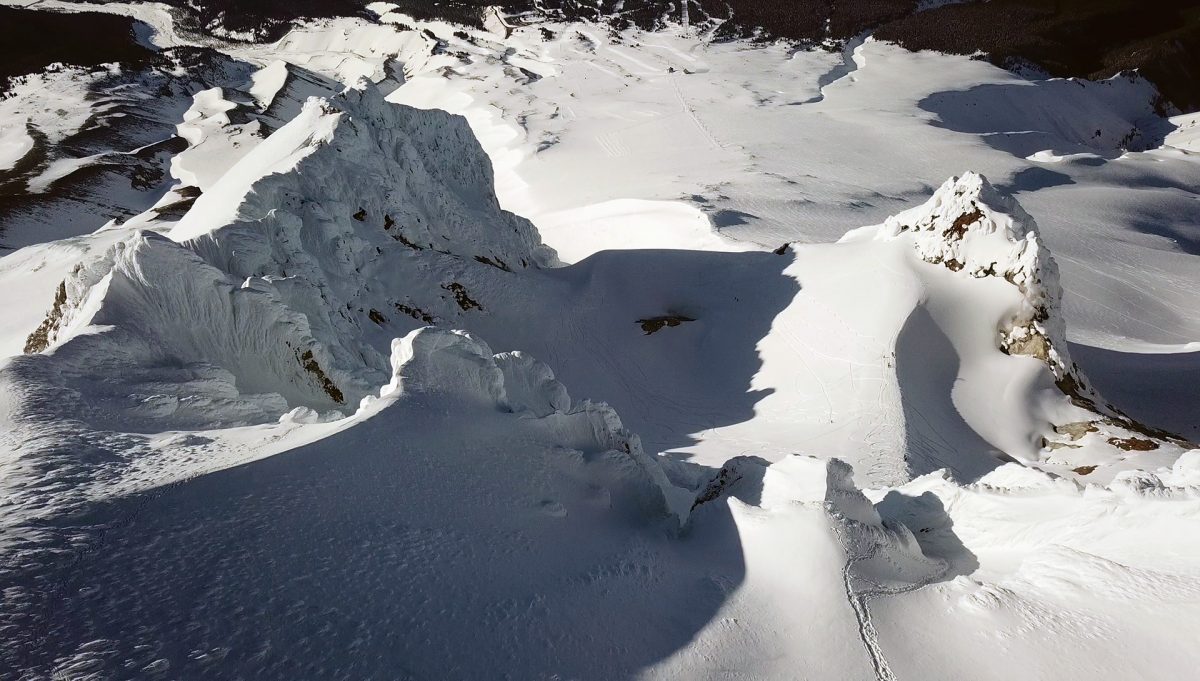
What is it?
- Rock / ice fall occurs when surfaces holding rock, dirt, ice, or snow in place are unable to hold their current formation and begin tumbling down the mountain.
Why does it happen?
- This can be due to the warmth of the sun, strong wind, or vibrations from the earth or other climbers.
- The Cascades are mostly composed of rotten rock piles loosely held together by snow, ice or convenience – in other words, don’t consider the ground beneath the snow and ice to be solid.
When is it likely to occur?
- Rock fall is most common in the Summer and Fall.
- Ice fall is most common in the Winter and Spring.
- Plan to be off the summit before peak rock / ice fall danger time (9am to 1pm)
How can it be mitigated?
- Get an alpine start (anytime between 12 – 2 am).
- Starting early will help you get up and down the mountain before the sun comes out and the rock / ice fall danger increases.
- Always wear a helmet on the upper slopes of the mountain.
Crevasses
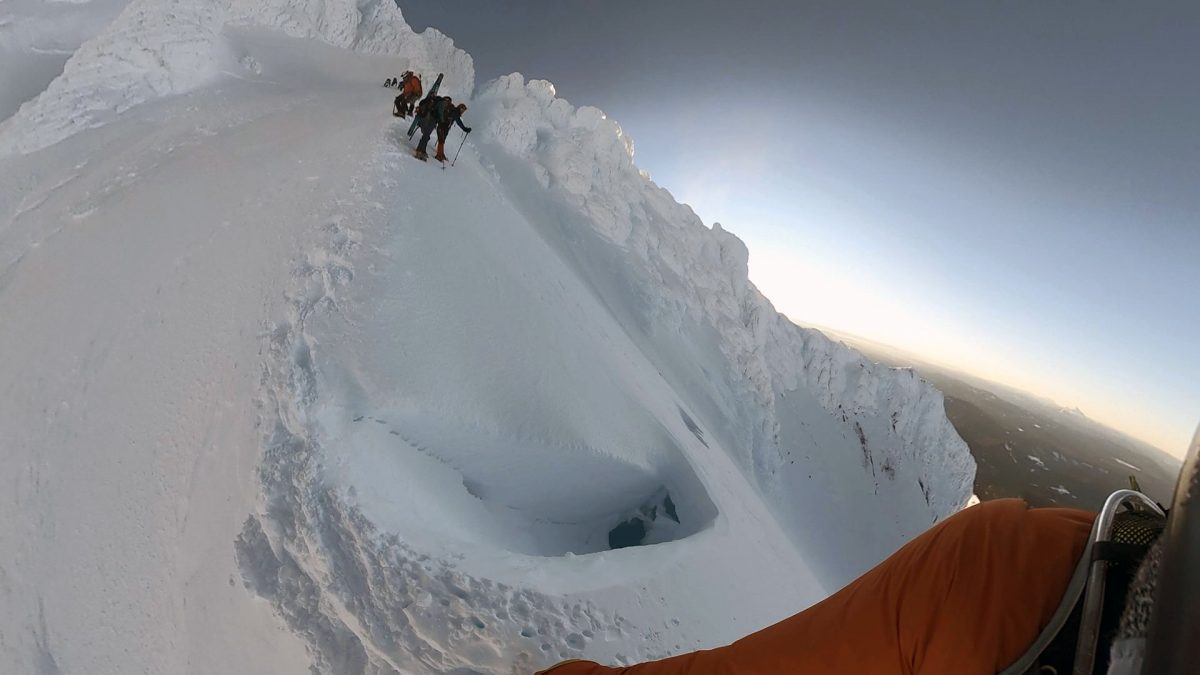
What is it?
- A crevasse is a deep, open crack that can occur in large glaciers.
- Crevasses can range in size – from a few inches to several feet in width and tens or hundreds of feet in depth.
Why does it happen?
- Crevasses form as a result of glacial movement and stress in the surrounding landscape.
When is it likely to occur?
- Crevasses can occasionally become filled in during the winter and gradually become more exposed through the spring and summer.
How can it be mitigated?
- On the south route the Bergschrund is the primary crevasse to navigate around, however other crevasses can appear above the Palmer during the spring and summer.
Fumaroles
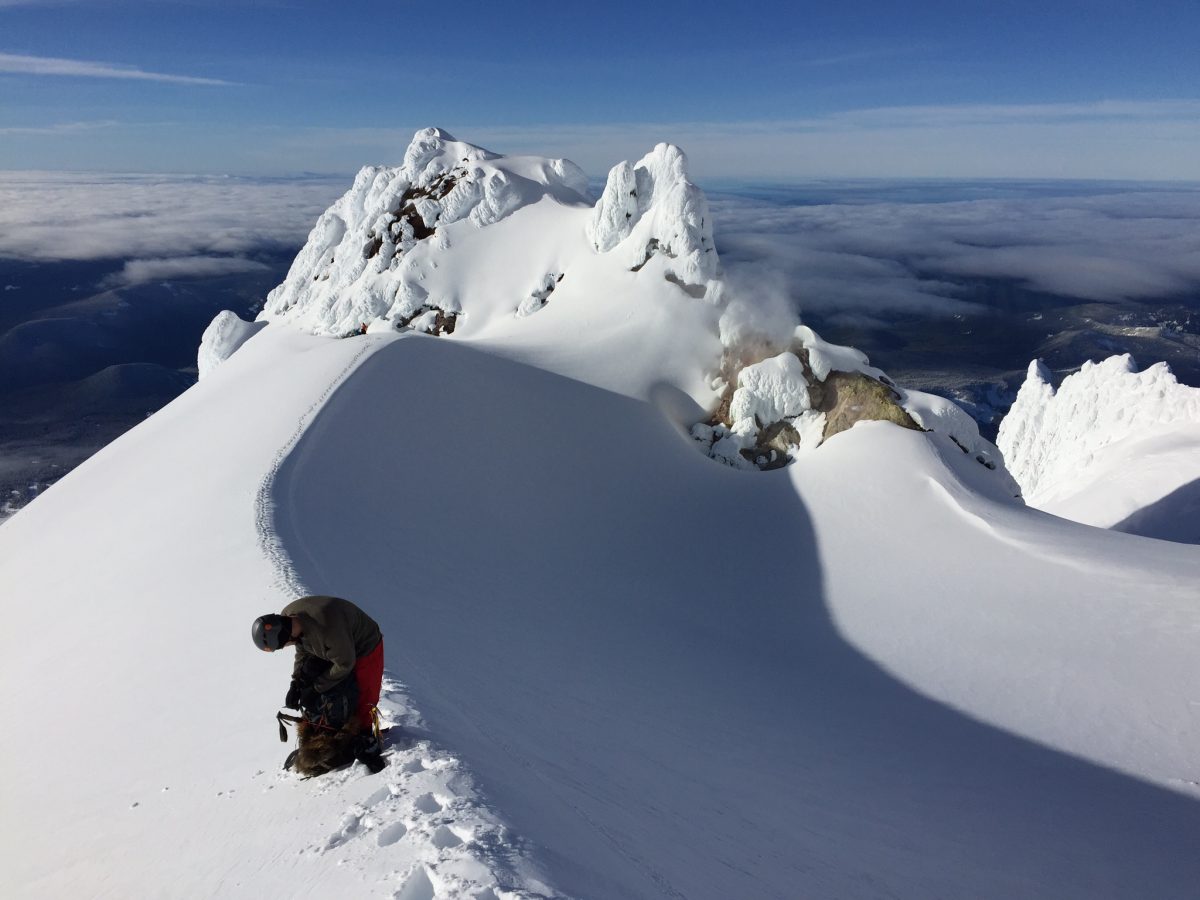
What is it?
- An opening in or near a volcano, through which white hot, sulfurous gases emerge.
- These gases are warm and smell similar to rotten eggs.
- Lingering on or near fumaroles can induce vomiting and potentially death, due to suffocation.
Why does it happen?
- Mt. Hood is a living volcano with two active fumarole zones, Hot Rocks and Devil’s Kitchen.
When is it likely to occur?
- They are typically exposed year round.
How can it be mitigated?
- Move steadily through these areas.
- Do not stop to enjoy the warmth.
Cornices
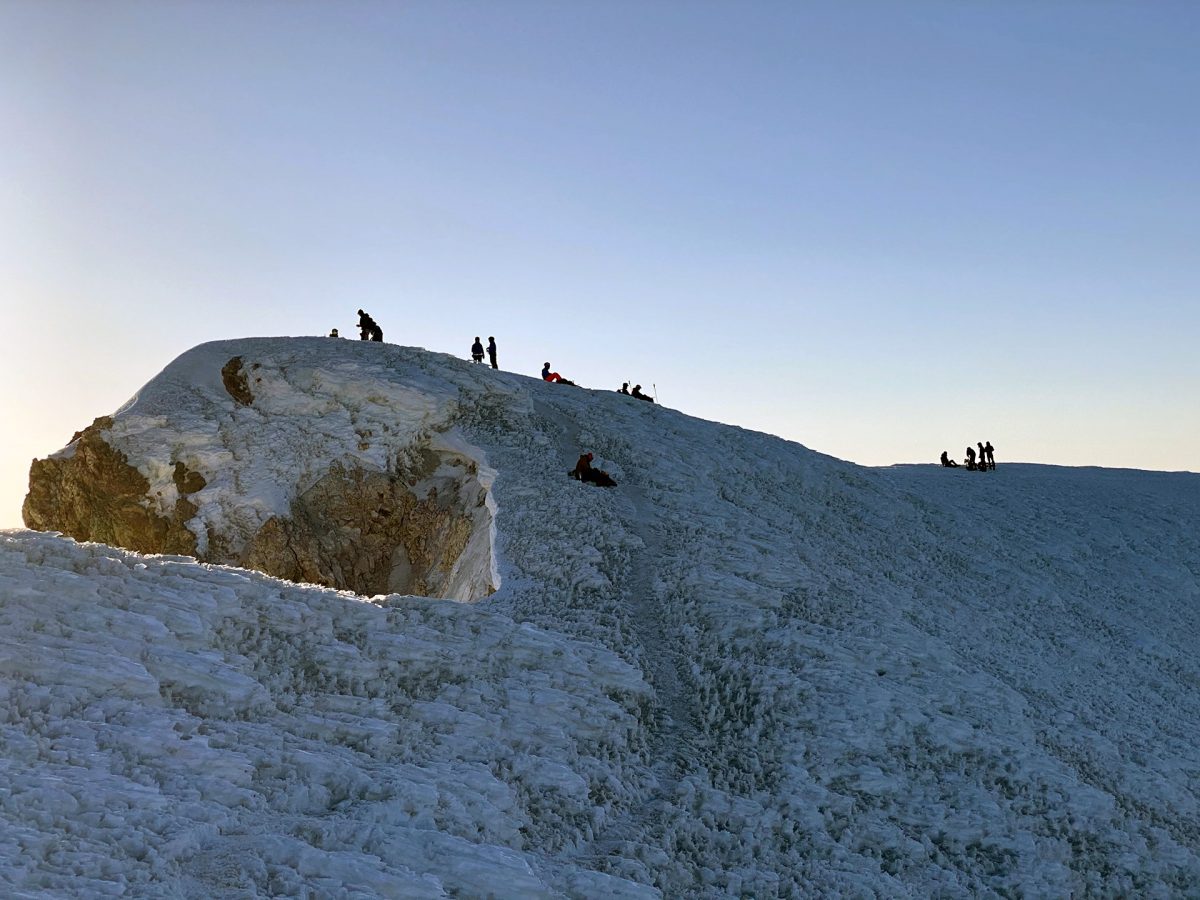
What is it?
- An overhanging mass of hardened snow at the edge of a mountain precipice or ridge.
- They can extend up to 40 feet out over the steeper north face of the mountain.
- Standing on a cornice could cause it to release, sending it and you plummeting down thousands of feet.
Why does it happen?
- Cornices form by wind blowing snow over sharp terrain breaks, such as the crest of a mountain, where it attaches and builds out horizontally.
When is it likely to occur?
- More prevalent in the winter and spring.
How can it be mitigated?
- Keep a healthy distance from the edge of any perceived overhang on the mountain.
- Ensure you are roped to a stable anchor point that is not attached to any part of the cornice if travelling on or near one.
Avalanches
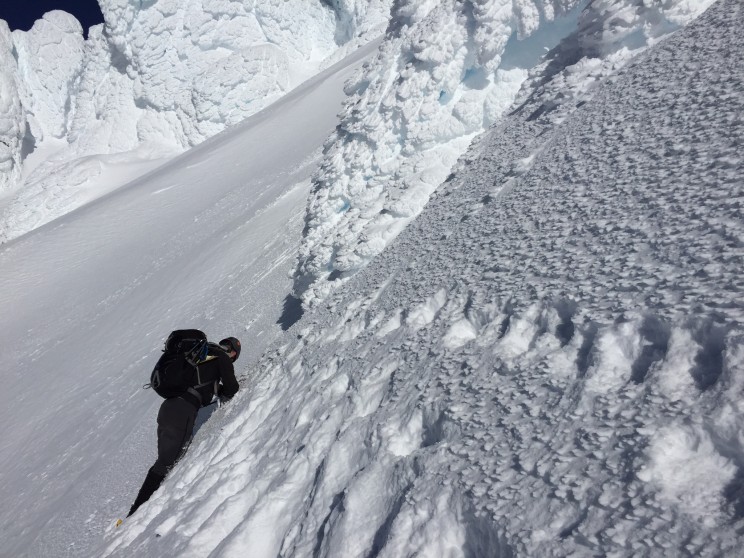
What is it?
- An avalanche is a rapid flow of snow down a sloping surface.
- After being triggered, avalanches can accelerate rapidly and grow in mass and volume as additional snow and debris gets picked up in it’s path.
- Avalanches can only occur in standing snow pack – in other words a significant mass of accumulated snow.
Why does it happen?
- Typically due to a mechanical failure or structural instability of some kind.
- Causes can include: external movement (climbers, wind, earth tremors), temperature (ambient air, sun light), or significant snow / rain fall in a short period of time.
When is it likely to occur?
- Avalanches are more likely to occur when temperatures increase (9am to 1pm) and the snow begins to soften.
- They can also be triggered by your or other climbers.
How can it be mitigated?
- Avalanches are a very real concern on Mt. Hood – Each and every time a climb is attempted avalanche conditions should be assessed.
- After any new snowfall in the spring and summer there needs to be 3-4 days with a combination of temperatures above freezing and sun radiation during the day, followed by temperatures below freezing at night, to stabilize the snow pack and minimize avalanche risk.
- That timeline can be shortened to 36-48 hours if there has been significant rainfall all the way up to the top of the mountain.
- Entire courses are available through REI and Mountain Shop on how to identify potential avalanche zones and avoid them.
- In the event that an avalanche does happen and you or a fellow climbers are buried there are various pieces of equipment that can increase survivability, such as an avalanche probe, a shovel, avalanche transceiver devices, and an inflatable backpack
.
Underestimation
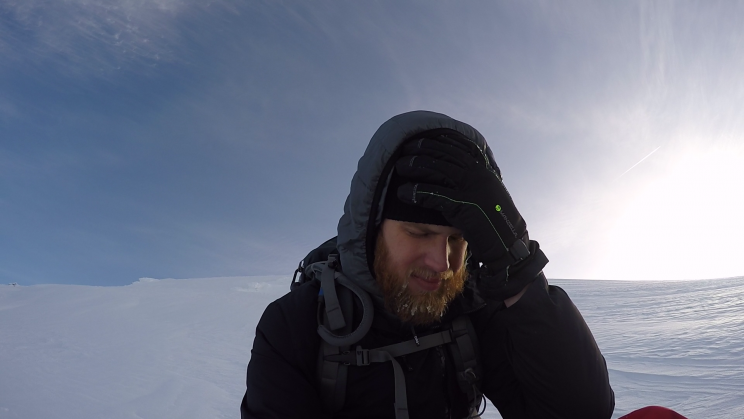
What is it?
- When you think you can eat seven cookies, but you can only eat six.
- Mt. Hood is sometimes characterized as an easy hike, or a “walk up” by some accounts, and while many inexperienced / ill equipped climbers are successful, this is not a climb for those lacking climbing experience.
Why does it happen?
- They might say: “I’ve never climbed before, but I heard it was easy so I’ll give it a shot and see what happens.”
- They could also say: “I’ve climbed Mt. Hood and/or other mountains and/or more difficult peaks before, therefore I can climb it again.”
- Inappropriate or the absence of specific gear required for a given situation will increase climber risk.
- Lack of knowledge on the use of climbing equipment increases climber risk.
- Lack of ability to properly assess a dangerous situation and/or potential risk increases climber risk.
When is it likely to occur?
- Underestimation is most likely to occur when climbers have neglected to thoroughly understand the risks involved with climbing Mt. Hood.
- Some say… “bro” culture has a strong impact on the accurate assessment of risk and danger, but sometimes it comes down to pure negligence or even a simple mistake which can happen to even the most experienced climbers
How can it be mitigated?
- Climbers should become as knowledgeable as possible about the route, conditions, risks, and up-to-the minute weather patterns on Mt. Hood prior to a climb.
- Constantly re-assess risk and perceived danger as the climb progresses.
- Proper attire & climbing gear, emergency equipment, backup plans with people not on the mountain.
Other Climbers
What is it?
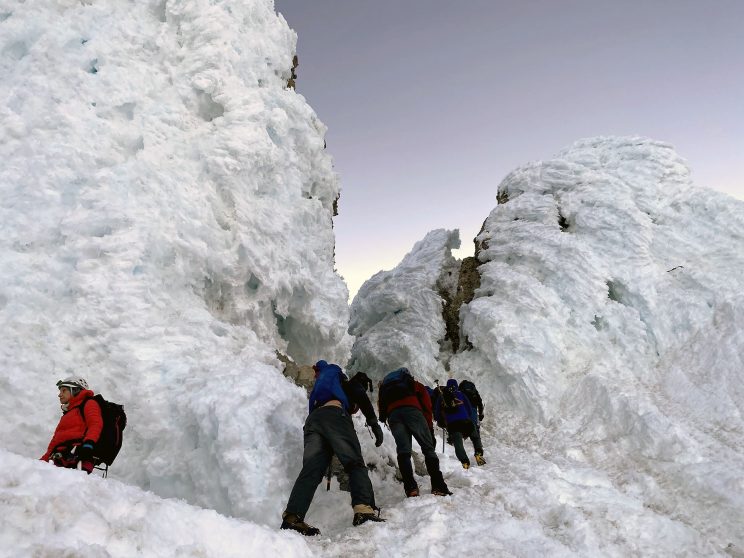
- Climbers may pass you quickly, stop in front of you, fall and slide into you, drop debris or equipment, etc. – In other words – Despite your best efforts, other climbers must be taken seriously as a variable of risk.
Why does it happen?
- Improved weather during the Spring and Summer months attracts more climbers, especially to the “easier” south route.
- Whenever there are a lot of climbers together in a relatively small area there is the potential for danger.
When is it likely to occur?
- Spring and Summer seasons – especially from Memorial Day through July.
How can it be mitigated?
- Move quickly, carefully and efficiently through chutes.
- Yield to uphill traffic while descending.
- Wait behind slower climbers, don’t pass unless they give you the OK.
- Pass quickly and well to the side of other climbers / teams.
- Give other climbers and teams lots of space.
- Travel single file.
- Be patient
- Be polite.
Climbing is a physically demanding activity, requiring proper conditioning and training. In addition to the strenuous activity of walking uphill with weight on your back, you will be breathing less oxygen due to the elevation. With less oxygen your muscles will be working at a diminished capacity.
Before climbing Mt. Hood, you should go on several training hikes. These hikes should consist of elevation gains of 3,000-5,000 feet and distances of 2-4 miles to simulate the slope of Mt. Hood. Locally these are climbs such as Mount Defiance, Table Mountain, Dog Mountain, and Hamilton Mountain to name a few. Climbing other mountains like Mt. St. Helens or Mt. Adams will give you an idea of what it’s like to climb at elevation. During these hikes, if possible, carry the equipment you will climb with. If you do not own all the equipment you will need, put other items in to simulate weight. A pack of 20-30 pounds is average for a Mt. Hood climb.
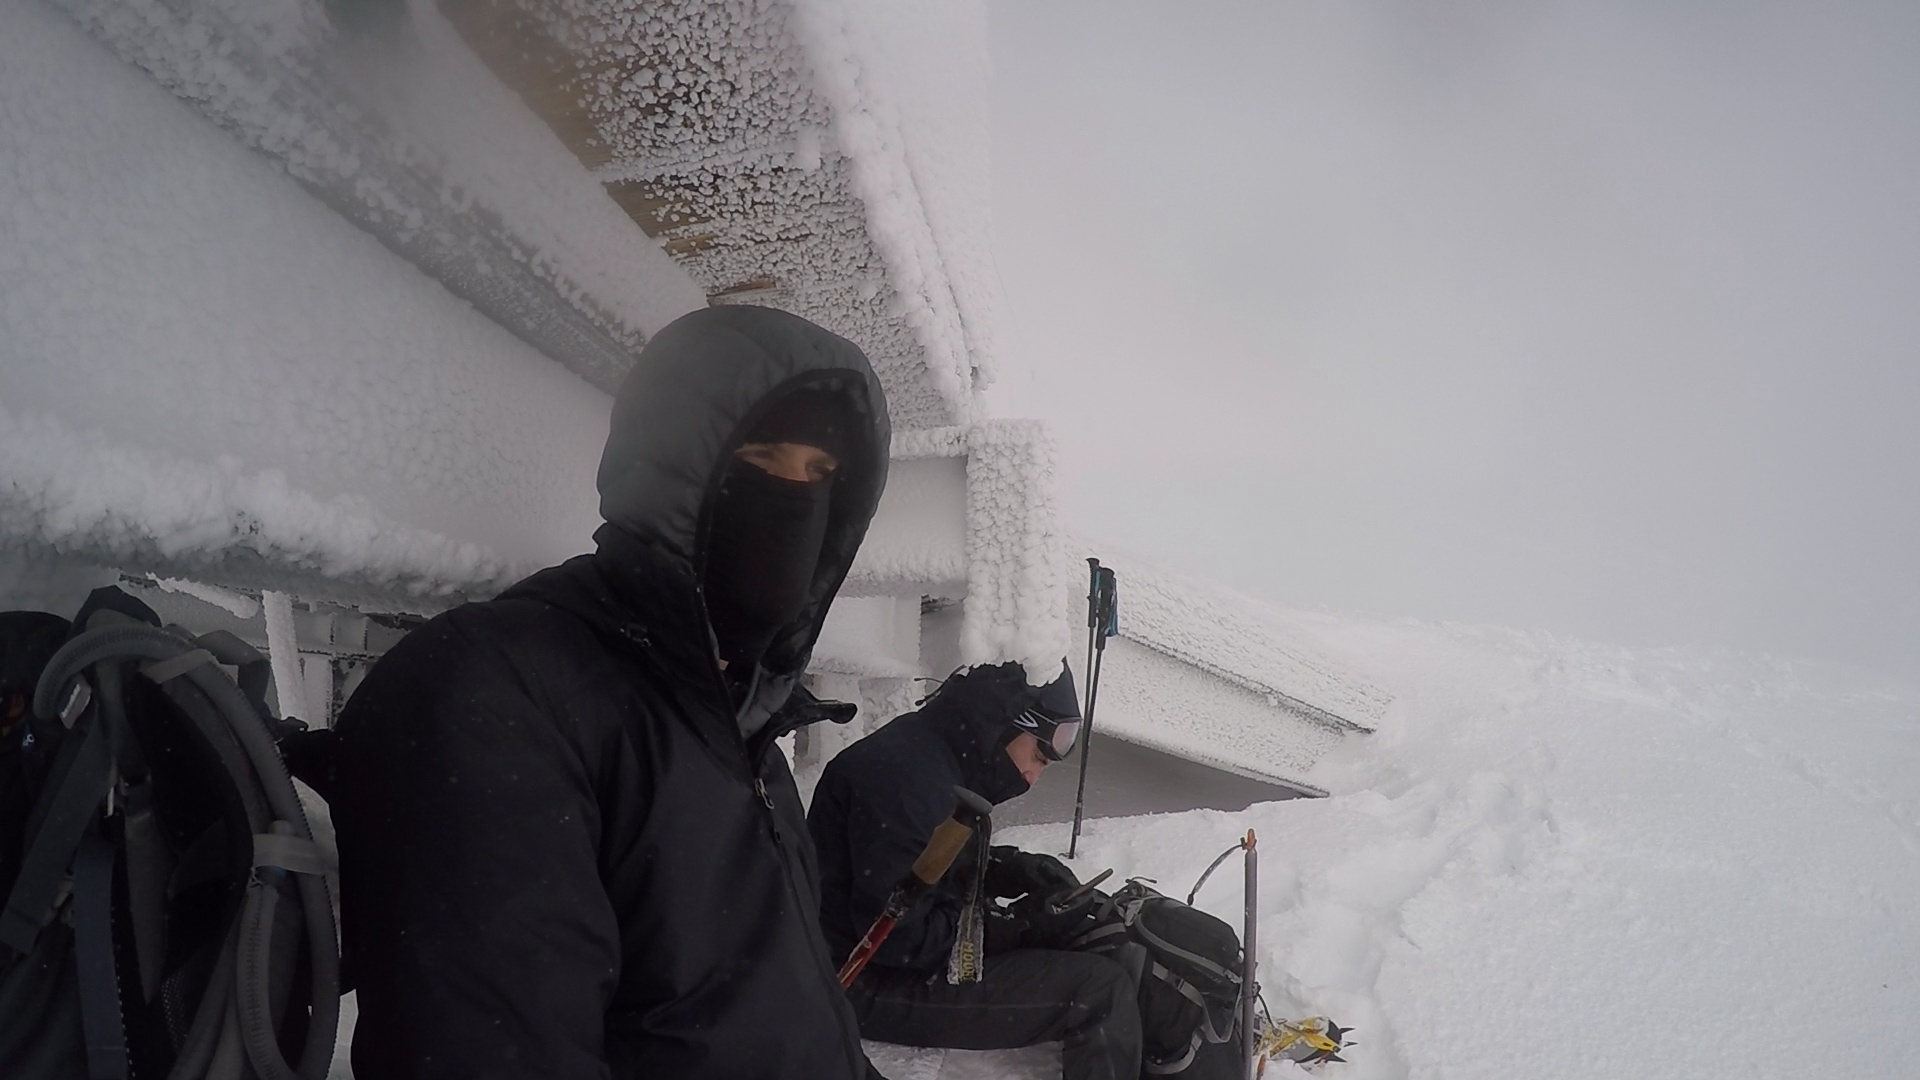
A person who exercises regularly and is in good physical health should plan on doing 5-10 of these sorts of hikes before a climb. Those who do not get regular exercise or have other health problems should consult their doctor for an exercise routine appropriate for them, and slowly add in hikes with elevation and a weighted pack.
Every climber should also be trained and practiced in self arrest and crampon techniques. These are skills you will need for the climb. It is also important that each climber is familiar with other skills that conditions may require, for example: belays, rope-team travel, crevasse rescue, avalanche condition assessment, avalanche transceiver use, first aid, navigation and rappelling. Remember that the safety of every climber on the mountain is at risk whenever a single climber is unprepared.
| Required | Recommended | Optional |
|---|---|---|
| Clothing | Gaiters | Overnight Gear |
| Food | Trekking Poles | Stove |
| Water | Sun Protection | Blue Bags |
| First Aid Kit | Mobile Device | |
| Helmet | Avalanche Recovery Gear | |
| Ice Axe(s) | Climbing Gear | |
| Crampons | Head Lamp | |
| Navigation |
Our required versus recommended gear selection is based on a well-rounded approach to mountaineering on Mt. Hood’s south climb route that aims for the least amount of risk and while maintaining minimal weight. You should always evaluate what gear to bring based on current conditions and your overall risk comfort level.
Clothing
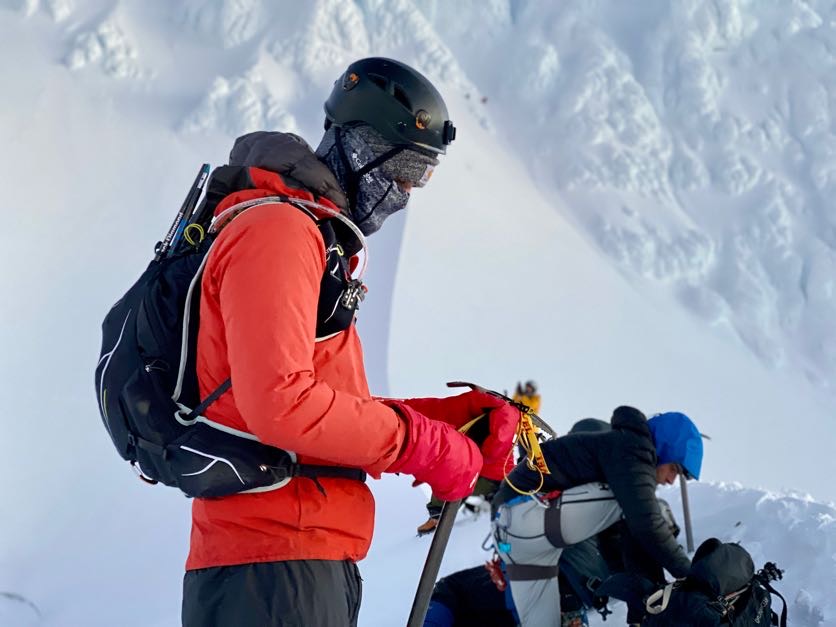
An improper clothing strategy on Mt. Hood can mean at best – chilly bits; at worst – limb devouring frost bite.
The best approach for Mt. Hood is the 4-layer system: Base-layer, mid-layer, shell, insulation. Do not wear cotton – All layers should be either synthetic, wool, or another breathable material.
Base-layer – Top and Bottom – This can best be defined as a long-sleeve compression shirt and synthetic leggings
. Your base layer should allow for a great range of mobility, moisture wicking, fast-drying, and be ultra-warm.
Mid-layer – Top and Bottom – Also known as the soft shell layer, this is the layer you should be able to climb in under ideal weather conditions. Similar to the base layer these items should maintain optimal breath-ability, heat/moisture dissipation, and retain adequate warmth. For example, this might be a fleece jacket and hiking pants
.
Shell – Top and Bottom – This is the layer you put over everything else. While it may not provide much insulation, it’s primary purpose is to keep wind, rain, sleet, snow, ice, and any other undesirable elements away from your underlying layers. An affordable shell layer might be the Adidas Outdoor Wandertag jacket and O’Neill Hammer snow pants
. A shell layer with more advanced, light-weight, protective materials might be the Arc’teryx Beta AR jacket
and Mountain Hardware Torsun pants
.
Insulation – This is your deep cold layer. It comes in to play when conditions start getting chilly or you are not moving enough to maintain a comfortable body temperature. This is typically a down jacket (aka the puffy jacket). We personally like and have used the Black Diamond Cold Forge Parka and the Arc’teryx Thorium SV hoody
.
Gloves / mittens – We recommend a fleece glove or liner paired with a deep cold mitten. In most conditions you will find that your hands retain quite a bit of warmth with a decent fleece glove and that the mittens function as a great backup for when the wind picks up or the weather degrades. Why mittens? Because by not separating your fingers from one another in a traditional glove they stay warmer by sharing their heat. The REI fleece grip gloves paired with the REI Deep Cold mittens are a fantastic combination in most conditions. A similar combo is offered by Outdoor Research with their fleece gloves and Meteor mitts
.
Hats – Fact: The majority of heat loss occurs through the top of your head. A wide-bill trucker hat may give you “bro” points, but it retains minimal heat. Beanies or other insulated head gear is the recommended choice.
Balaclava – Not to be confused with the Greek dessert (baklava), a balaclava is like a ski mask which protects the exposed parts of your face to the elements. You would be surprised at how much of an improvement even an inexpensive balaclava will make in cold or windy conditions.
Socks – Arguably one of the most important selections behind boots. Your feet will be taking a beating while climbing Mt. Hood and ensuring that they stay warm, dry and comfortable is a primary factor in having a successful summit. Long wool socks are highly recommended.
Boots – A quality pair of boots can make or break a successful summit attempt. Considering the amount of abuse that your feet will experience on this climb, selecting a boot that is both comfortable and supportive is crucial. You will also need a boot which is compatible with your chosen style of crampons.
Food
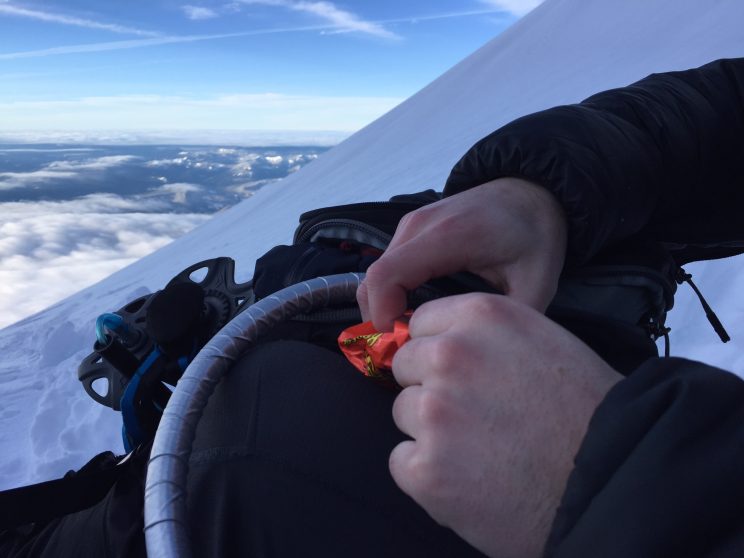
The short answer is: you will burn a tremendous amount of calories climbing Mt. Hood.
Eat before, during, and after the climb. Load up on fats and proteins before the climb as these metabolize more slowly and will give you energy for a longer period.
During the climb snack constantly on high carbohydrate foods as these metabolize faster and give you quick bursts of energy. Eating at least one or two snacks per hour avoids large spikes in energy and helps maintain smooth, consistent energy levels. Keep in mind, roughly 50-100 calories can be burned every 15 minutes depending on your base metabolic rate, speed, grade, and air temperature. In the winter, the body will burn additional calories just trying to stay warm. For a 9 hour climb that’s somewhere between 1800 – 3600 calories. That’s the equivalent of between 8 – 17 regular sized Snickers bars, which apparently you can buy in bulk.
It’s also important to be aware that your taste buds may change as you gain elevation. Furthermore, altitude sickness may actually suppress appetite. In other words, if you only sort of liked a food at base elevation you’re probably not going to like it at high elevation. So bring foods that you know you’ll enjoy. I like sour gummy worms for high elevation expeditions.
After the climb, have a burger, sandwich or something high in fats and protein which helps muscles recover from lots of exercise. Remember your metabolism keeps going for an hour or two after you stop, so that’s the time to binge a little.
Water
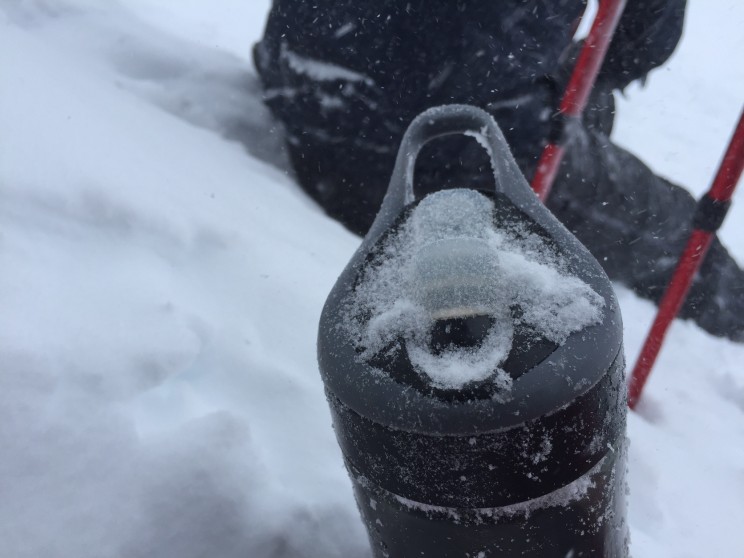
Science recommends 1 liter of water be consumed for every hour of high energy activity. For a south side climb that would be 8 – 12 liters (or 2 – 3 gallons), which is the equivalent of 27 – 40 pounds of weight on top of all the other gear you would be carrying.
Similar to food – we recommend the before/during/after strategy. Drink 2-4 liters of water a few hours before you start your climb to saturate your body and reach your muscles. For the actual climb, bring 2-4 liters of water to sip on constantly. While a bladder makes constant hydration easier, we recommend Nalgene or Camelbak water bottles to avoid the scenario where your bladder hose freezes preventing you from drinking any water. If you do use a bladder, blow water back into the bladder to help prevent the hose from freezing or purchase a hose insulating layer. Another option would be to have a hybrid water bottle and bladder system in case either method fails. After the climb, have a gallon of water waiting in the car to replenish your reserves.
First Aid Kit
Each climber should carry a medical kit from which they can dispense first aid to themselves or another climber, but you should never depend on another climber to be able to patch you up. Adventure Medical sells a great, light-weight kit that we bring on every outdoor trip.
Helmet
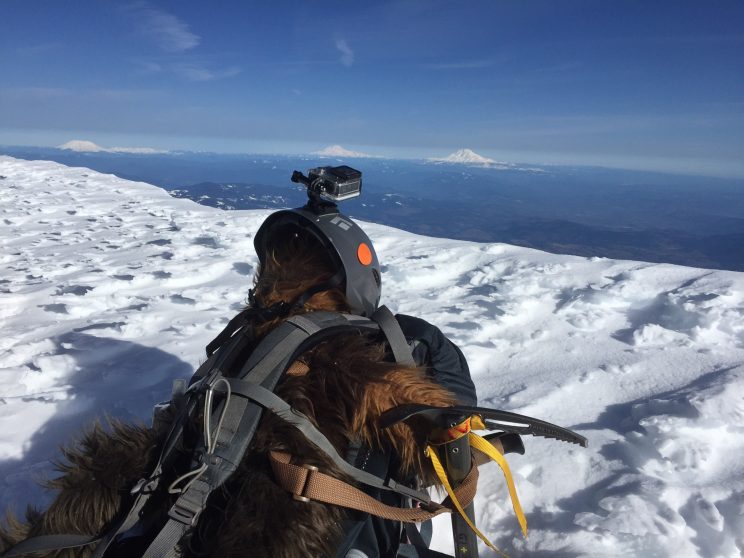
A climbing helmet is necessary on Mt. Hood because of the significant ice and rock fall danger higher on the climb. Your helmet should meet climbing certifications, meaning that it is rated for impact from above. Biking and ski helmets are not suitable substitutes as they are only rated for side impacts.
Ice Axe(s)
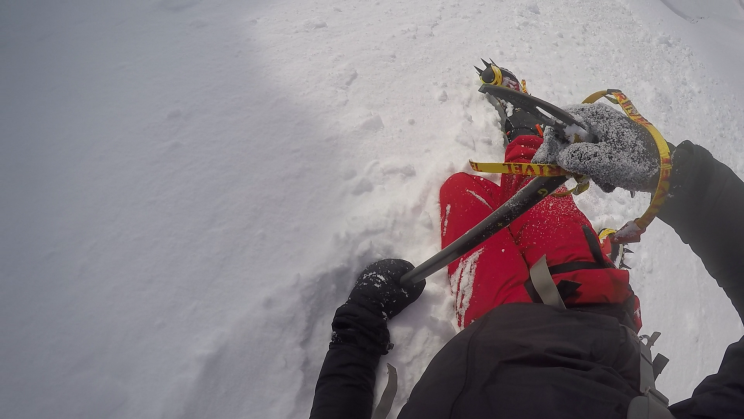
Acquiring and carrying an ice axe is easy, but knowing how to use it correctly requires skill, familiarity and practice in the art of self arrest. The South Side Route is not a technical snow / ice route, and so we recommend a straight (or slightly curved) handled axe. When the climb above the Hogsback becomes especially steep or icy a second ice ax and/or ice tool may be required in order to safely ascend and descend.
When choosing the length of an axe, stand up straight and hold the axe by your side grasping its head between your fingers. The spike (bottom) of the axe should rest by your ankle. A longer axe might be nice as Mt. Hood’s south side is relatively low angle (30 to 45 degrees). A shorter axe will require you to bend over to place it, a tiring endeavor. Also, a shorter axe may seem lighter but the difference is usually only an ounce or two. If using a shorter axe or ice tool look into a trekking pole for the other hand.
Your ice axe may come with a leash. This is important in case you do go in to a fall and the ice axe leaves your hand. A leash keeps the ice axe attached to your person either on your wrist or climbing harness allowing you to reel it in and perform a self arrest.
Crampons
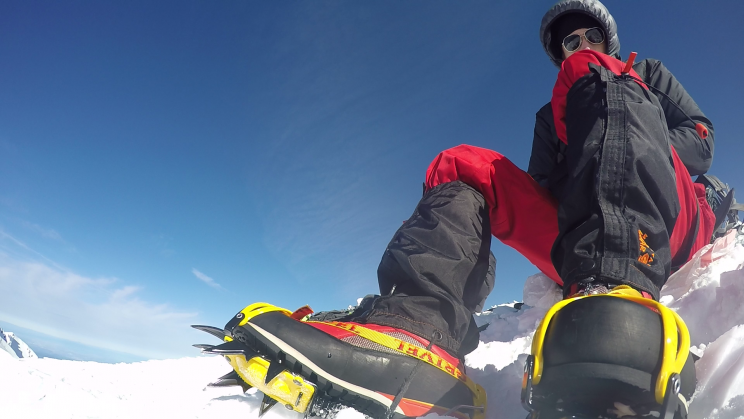
Speaking of which –
Crampons allow you to grip into solid snow and ice providing stability and traction when you need it most. While it is technically possible to reach the summit without crampons we would wonder why you would even take that risk.
There are several types of crampons available on the market, but the key is matching the correct crampon binding system to your boot. In fact, REI has a great article describing how to choose the best crampons for your goals.
We highly recommend you pick your boot prior to selecting a crampon because at the end of the day a comfortable, supportive boot is preferable to ill-fitting footwear that you’ve attached some spikes to. One pairing that we’ve had a lot of success with is the La Sportiva Trango boot and Grivel G-12 new-matic
crampons. Grivel’s new-matic system has a locking point in the rear and straps in the front to ensure a secure fit to this style of boot.
Navigation
Under clear, optimal conditions Timberline Lodge will be within view 90% of the climb. However, weather can change rapidly and white out conditions can descend on the mountain much quicker than you can climb down. Having and knowing how to use a map, compass, and altimeter can keep you on course.
A dedicated GPS device or the AllTrails app (using GPS through your phone) can display your location relative to routes recorded by others. This can be helpful when you cannot identify your route based on common land marks.
Gaiters
Gaiters cover the vulnerable tops of your footwear to fully protect your feet and lower legs from the snow, water, dirt and rocks that have a way of sneaking into even the best boots. While not strictly required for Mt. Hood we would never climb without them. Even a less expensive product like the Moutain Hardware High Gaiter offers superb protection in most conditions.
Trekking Poles
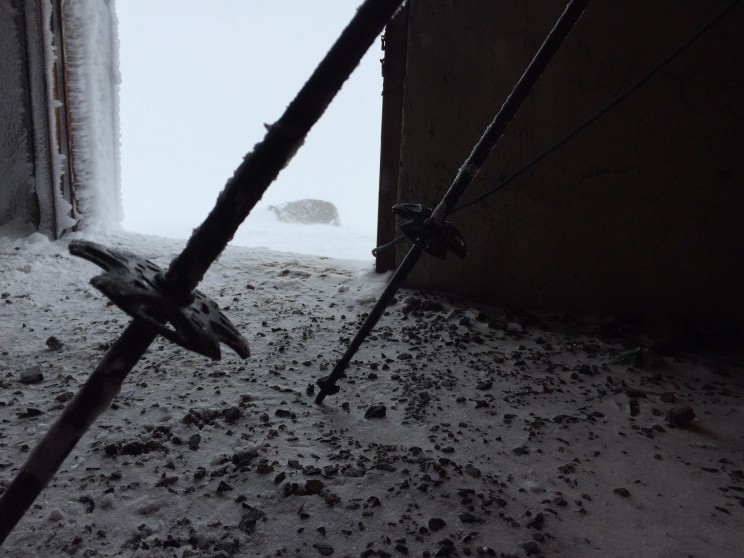
As we’ve lamented on other trips, trekking poles are extremely advantageous to have, especially on mountains. They do more than just provide stability. Trekking poles actually transfer load away from your legs. This is most noticeable on downhill sections where your knees are most likely to take a beating. An affordable pair of trekking poles will do the trick, however if you’re feeling the need to go ultra-light Black Diamond makes a carbon fiber trekking pole
. We like and have used both, but the Black Diamond product is mind-bendingly light and strong.
Sun Protection
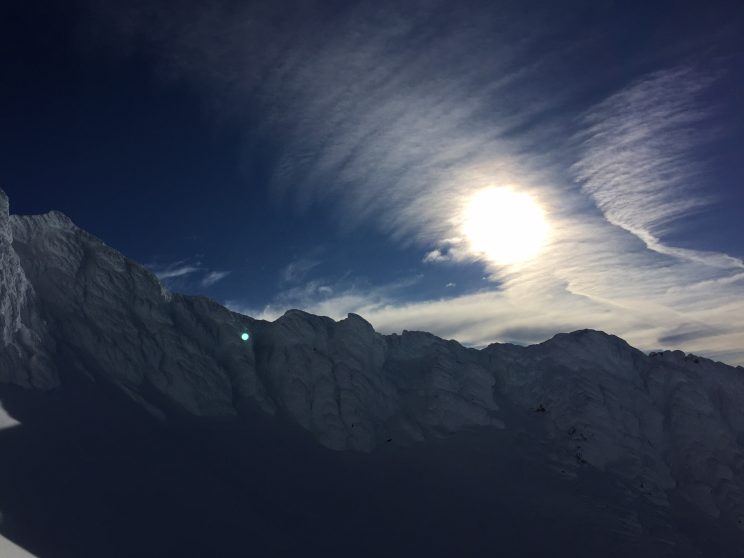
At elevation there is less atmosphere to protect your skin from the sun’s harmful radiation. Combine this with the reflective properties of snow and you can get a fairly severe sunburn without the proper protection. Having a strong sun screen (SPF 40+) or a hat that shades your neck, face, and ears can prevent this. It’s also easy to forget that your lips need protection too. Having lip balm with an SPF rating can go a long way to avoiding puffy, sun-burned lips. Wear sun glasses to protect your eyes as soon as the sun rises.
Mobile Device
Most people will be carrying their cell phones when they climb so that they can snap photos of their adventure, but these devices can also serve as locators for lost climbers. In the days prior to wireless phone technology it was common to purchase or rent an avalanche transceiver or mountain locator unit (MLU) which could be used to locate a person in the event of an avalanche. More advanced devices like RECCO reflectors, PLBs, and SPOTS are now available which use GPS and two-way satellite communication to provide emergency personnel with more accurate information about your location.
Additional information about the advantages and disadvantages of these devices is available here.
Avalanche Recovery Gear
Avalanches are a very real risk on Mt. Hood, especially on the upper slopes of the mountain. While snow safety and avalanche awareness help reduce risk, climbers should carry specific items when there is any risk of an avalanche on Mt. Hood:
- Avalanche beacon
– Each climber should be equipped with a beacon so that they can be discovered in the event of an avalanche. Many devices, like the Backcountry Access Tracker
, act as both a transmitter and a receiver- also known as a transceiver.
- Avalanche probe
– Similar in design to a trekking or tent pole, an avalanche probe is used to poke the snow to discover where a buried climber or object might be.
- Shovel
– Carrying a light-weight utility shovel allows you to dig other climbers out if they become trapped in an avalanche. If someone in your party gets buried you only have a matter of minutes to find and dig them out before chances of survival plummet dramatically. We like the Yukon Charlie sport utility shovel
for its compact, componentized-designed, durability and light weight.
- Avalanche backpack
– Like a regular backpack except these contain airbags that, when triggered, inflates the airbags and helps you float on top of the avalanche to greatly reduce the probability of being buried.
Climbing Gear
There are scenarios where climbing gear may be required in order for a safe summit attempt on Mt. Hood’s south side routes. Crevasses, steep slopes, and risk of falling necessitate proficiency in roping up, self arrest, crevasse rescue, setting anchors and rappelling. Although generally not needed until reaching the Hogsback, we recommend bringing climbing gear so that your team can safely ascend the last 1,000 feet to the summit.
Climbing Harness – A climbing harness attaches around your waist and legs, becoming the attachment point for roping up to a team. It can also double as a gear carrying device. A climbing harness is required to rope up to a team.
Climbing Rope – Tied in to the climbing harness, the climbing rope should be chosen carefully as it is the connecting device between each climbers and is your safety net in the event of a fall. A 40 – 50 m dry rope with a diameter between 7.7 and 8.2 mm should be sufficient for Mt. Hood’s south side routes.
Carabiners – A minimum of 1 locking pear-shaped carabiner for belaying and 2 non-locking carabiners for clipping anchors. We like to carry 3 locking carabiners and 2 non-locking clip carabiners for basic climbs.
Pickets – Ice or snow pickets are used as anchor points to rappel, belay, or perform a crevasse rescue from.
Ice Screws – These act as more secure anchor points that can be screwed into hard snow or ice when a picket cannot be placed reliably.
Headlamp
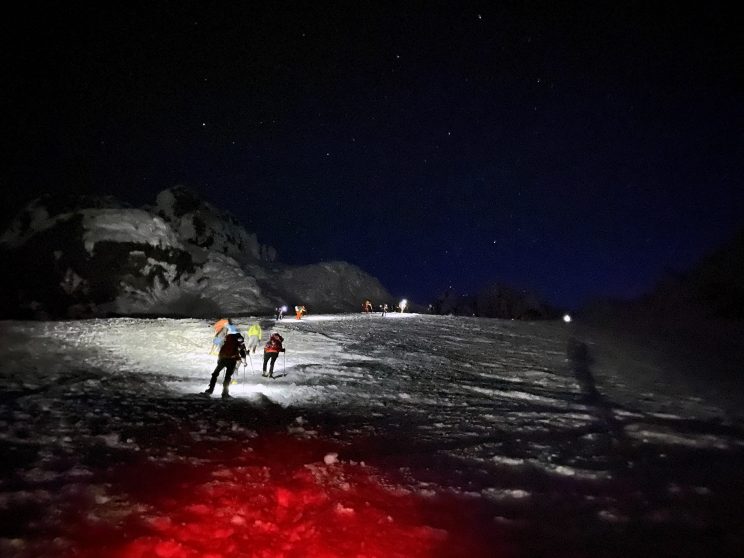
In theory, you could climb Mt. Hood in the middle of the night during a full moon and not need a headlamp. However, all other times you will.
You will be starting in the dark, and you’ll want your hands free. A headlamp with fresh batteries is the best light source.
Overnight Gear
While most people plan a south climb of Mt. Hood as a day trip, it is possible to turn it into an overnight expedition.
Tent / Shelter – A four season tent is recommended, however in very good weather conditions a three season tent will pass.
Sleeping Bag – A 0 – 20 degree bag will work under most conditions.
Sleeping Pad – Having an insulated sleeping pad is required in order to get your sleeping bag and body from being in contact with the snow and ice. Do not expect the tent floor to be sufficient thermal insulation even on a four season tent.
Stove
Stoves are useful for cooking warm meals and boiling water. There are many options available.
Blue Bags
Blue bags are provided for free at the climber check-in. They are used for solid waste disposal.
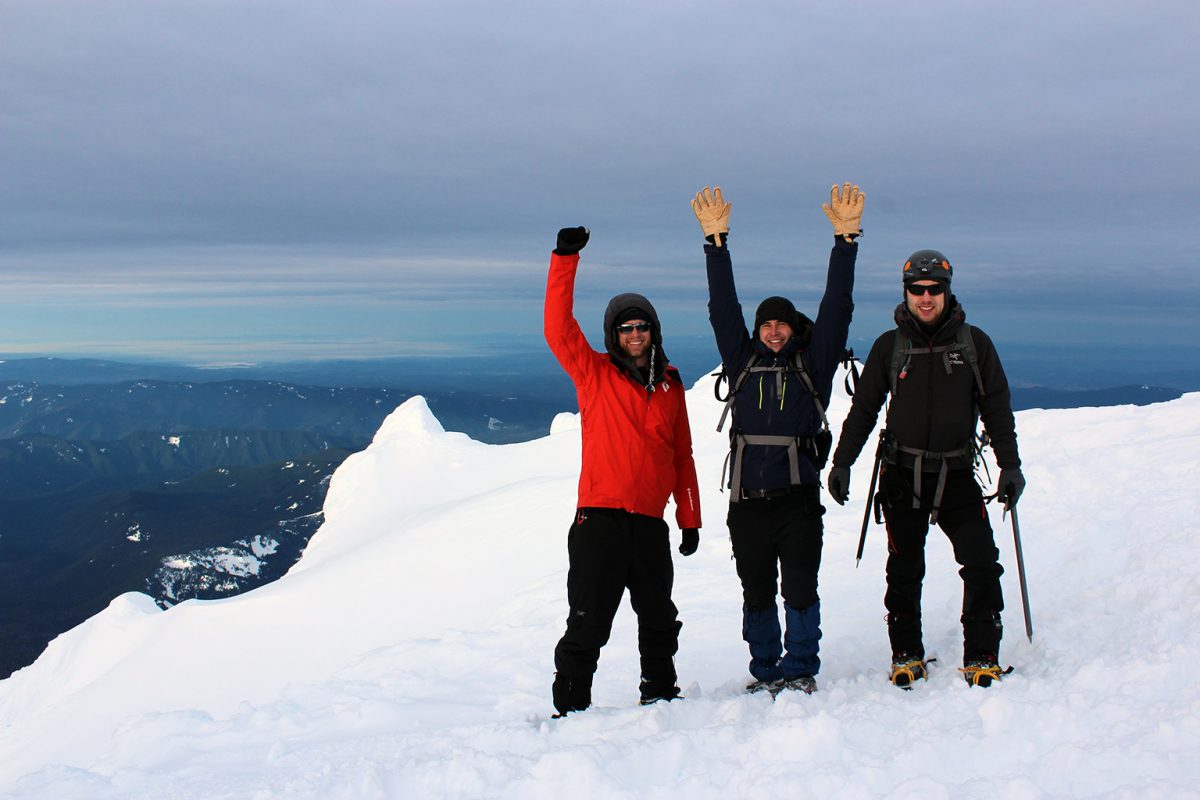
Mt. Hood can be climbed any time of year, depending on your chosen route. However, climbers using the south side routes should consider climbing from mid-April to mid-July, depending on route conditions. Earlier and there is an increased risk of avalanches; any later and there is an increased risk of landslides, rock fall, ice fall and open crevasses. Weather and mountain conditions should be the ultimate indicator of when to climb.
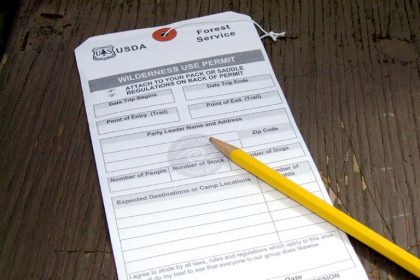
Wilderness Permit
- Required? Yes, year round, no quota
- Use: Mt. Hood National Forest access
- Where to acquire: In-person, Climbers’ Cave, Timberline Lodge
- More info: USDA.gov
Climbers’ Registration Form
- Required? No, but recommended
- Use: This is a general form stating the people in your party, planned route, climbing dates and emergency contact info. However, if you don’t come back on your stated date, don’t depend on this form to initiate a search for you.
- Where to acquire: In-person, Climbers’ Cave, Timberline Lodge
Sno-Park Permit
- Required? Seasonal, Nov 1 – Apr 30
- Use: Vehicle parking
- Pricing info: Oregon.gov
Most people start from Timberline Lodge. Your route to get there may vary.
Oregon’s Department of Transportation is responsible for clearing public roads and parking lots of snow, including Timberline Lodge.
ADVERTISEMENTS
Lodging
Climbers often stay in Portland and leave the city late at night for a climb. Portland offers easy access to hotels, the airport, rental cars and other accommodations. The drive to Timberline takes less than two hours (one hour if you’re a speed demon), so many climbers leave in the evening, arriving in time to organize and depart.
Others prefer to stay in Hood River, which is closer to the mountain but a smaller city without a major airport. Hood River is a beautiful town with a strong outdoor-lifestyle vibe. If it works with your travel plans, Hood River is a great place to stay!
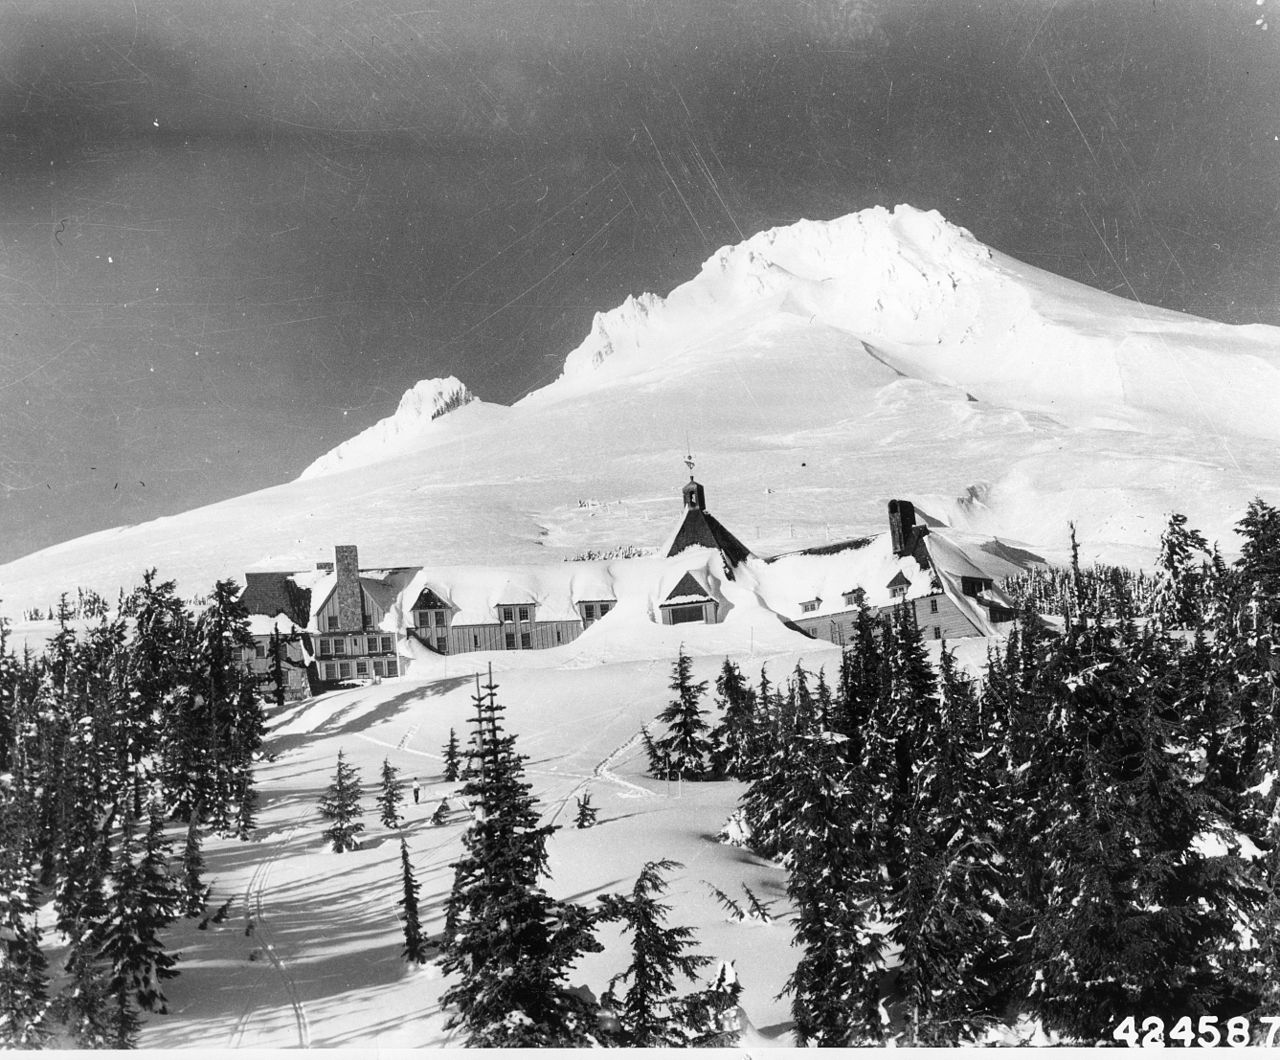
Still others will stay at Timberline Lodge, while more expensive it holds a lot of history and is undoubtedly the most convenient lodging. A less expensive alternative, almost as close, is the Mazama Lodge owned and operated by a Portland climbing organization. There are also a variety of hotels, inns, and resorts in Government Camp, OR which offer affordable lodging.
Camping
Most climbers choose to drive from one of the nearby towns or cities, but if you’d prefer to camp a bit closer there are terrific options in the Mt. Hood National Forest. If you’re traveling in an RV you have several camping options, including parking your rig in the Timberline Lodge parking lot.
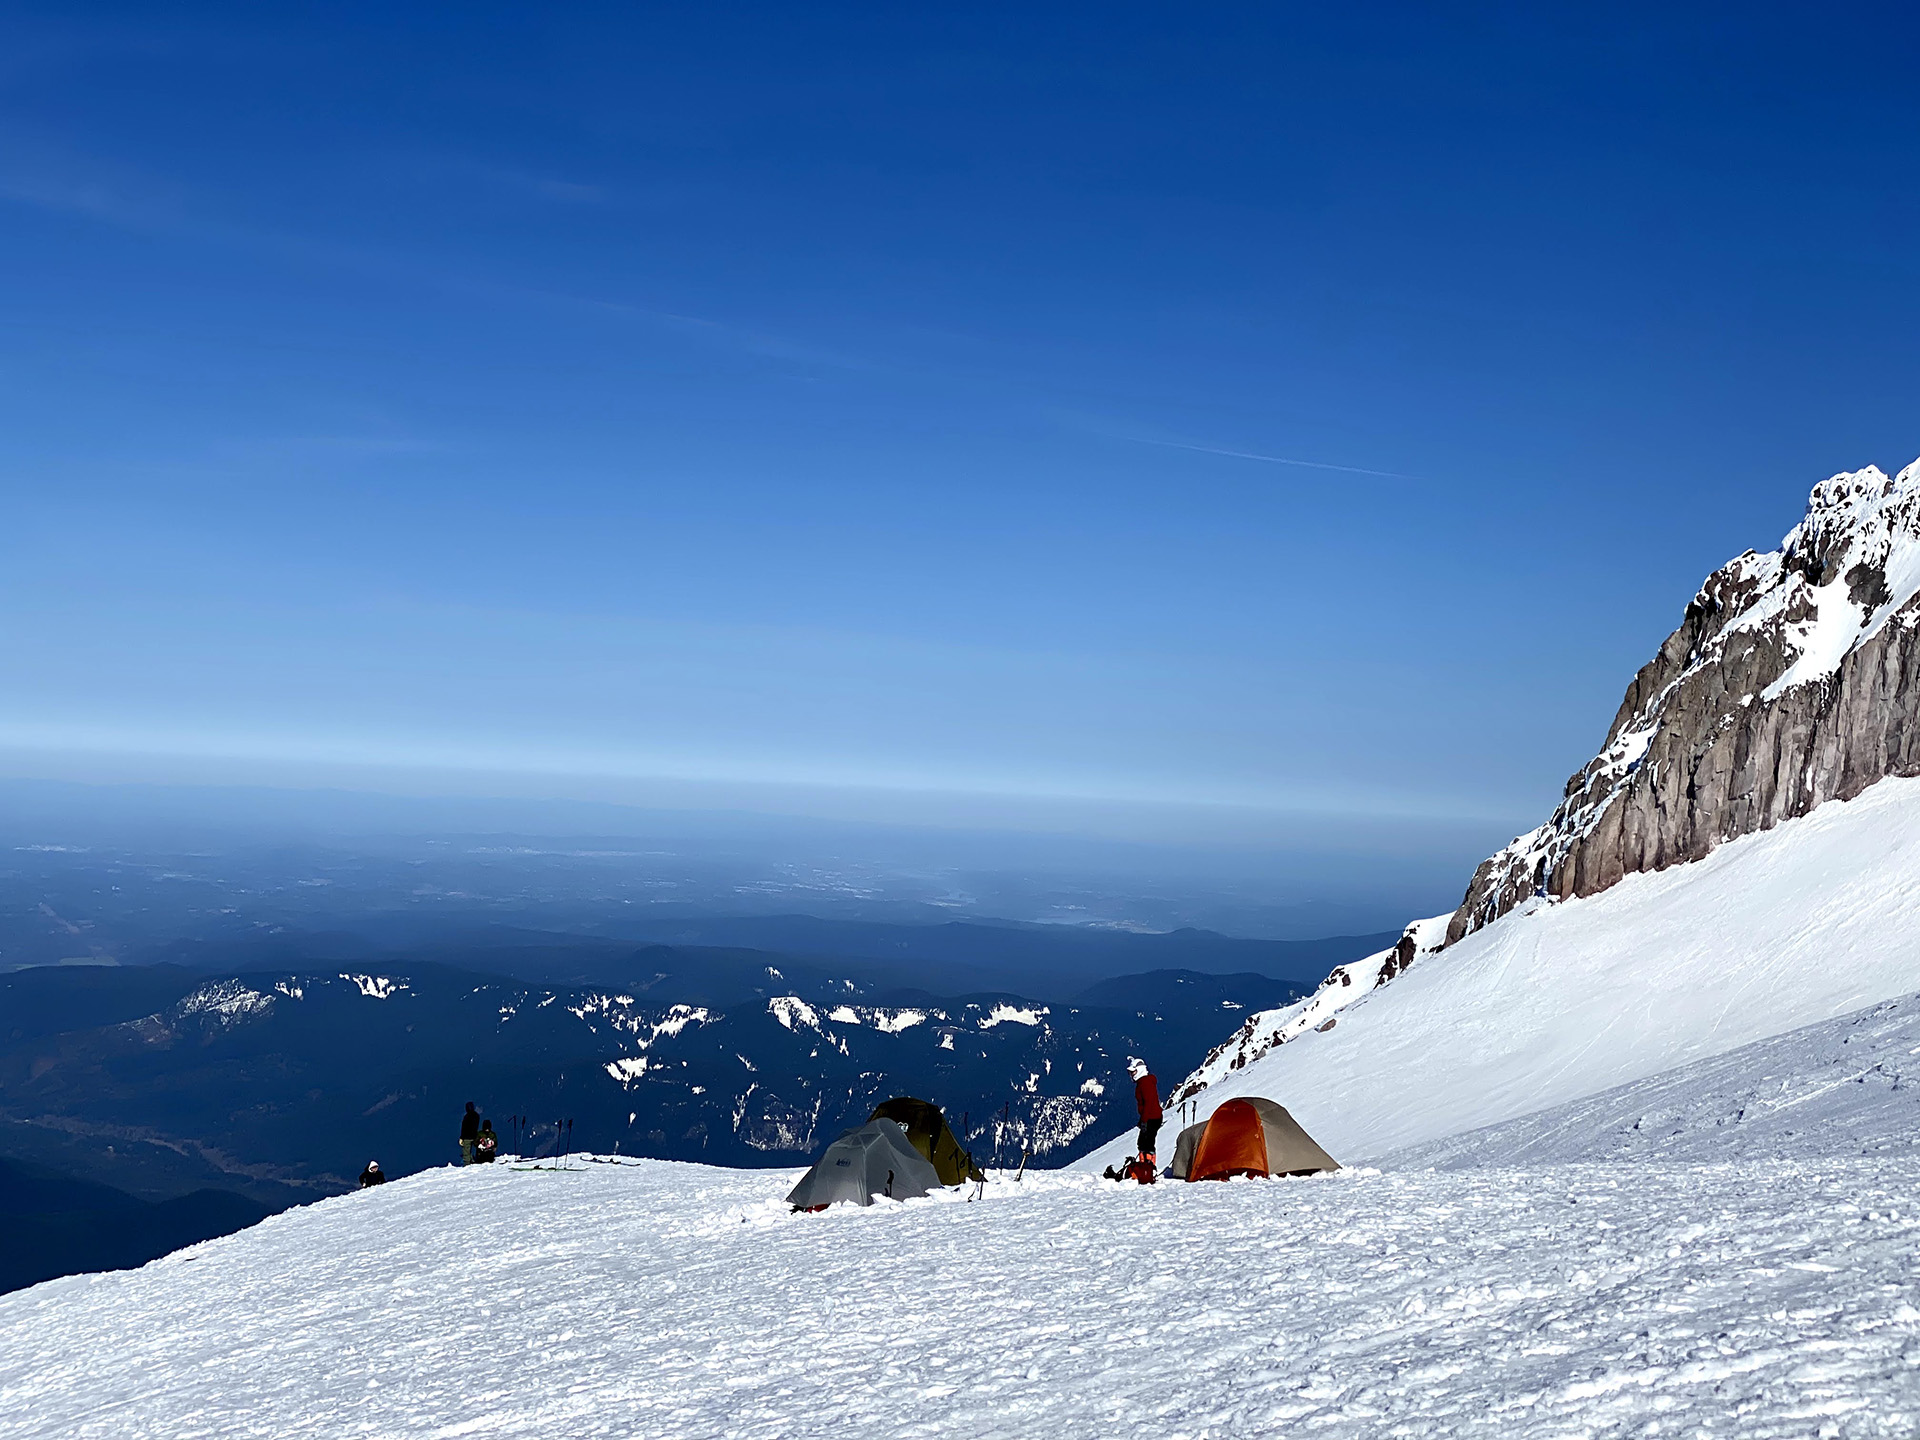
If you’d like a longer stay on Mt. Hood, you may also camp on the mountainside. If you choose to camp above timberline, be sure you are out of the ski area, be cautious of rock and ice fall, and know the avalanche conditions. Perhaps the safest (though not necessarily safe) place to camp is Illumination Saddle, about a 3-4 hour climb from Timberline Lodge. This small ridge between Castle Crags and Illumination Rock will deflect most falls to one side or the other, and the ridge itself isn’t likely to let loose.
Starting from Illumination saddle drop below Crater Rock and rejoin the main South Side Route, it should take 2-3 hours from the saddle to the summit. Follow all the other guidelines for a south side climb, but adapt your timetable accordingly. We also recommend packing up camp and stashing your camp gear on the Hogsback to be collected on the way back down. We think this is better than reaching the summit and returning to the (out of the way) Illumination Saddle to pack and collect your gear, at that point you’ll be tired and want to get to the car. Why not pack up and haul your gear while your legs are fresh and your adrenaline is pumping?
Mt. Hood is located within a wilderness area, and guiding permits are restricted to a handful of approved guiding operations. Here is a list of a few of the local guiding services:
Guided climbs are typically only offered during the peak climbing months between April and July.

All climbers should have a plan in place for emergency situations. This includes a plan made with a friend or loved one who is NOT climbing, and a plan for the climber(s).
Friends/Family Plan: It is important that you leave an itinerary with a friend, family member or loved one who is not climbing. This way, should something happen and you are not able to initiate a search, rescuers will be alerted and a search will commence. This plan should include:
- The specific route you will take
- An alternate route in case of emergency
- Timetable for your climb
- A time when you will check in
- A time to initiate a search
- Contact information for Search and Rescue
- Contact information for family members of each climber
With this information in place, the individual you leave it with will know when to expect a phone call, when to worry, who to call and what to tell them. We recommend you pick a time you will check in with your friend/family member that is 1-3 hours after you plan on returning to Timberline Lodge. This way you have flexibility for any delays. Your search initiation time should be 6-10 hours after you were suppose to check in. If you do use this kind of plan DO NOT FORGET TO CALL, even if you are off the mountain safely, call. If you are running late, call. If you blow off the climb and go to a bar in Government Camp, call.
Climber(s) Plan: Within your team, or as a solo climber, you must have a plan in case of emergency. It is impossible for us to go through every scenario, but you must work through some common problems and agree on the solutions before you leave. Questions you should consider are:
- What if a storm moves in?
- What if we get lost?
- What if we are behind schedule?
- What if the route conditions are questionable?
- What if someone is fatigued?
- What if someone is injured?
It is vital that every member of your group agree on an answer to these questions. During a climb, ego and adrenaline are high and decisions can be rash. Discuss possible scenarios before you leave and come to a consensus. These are problems best solved in the parking lot, or better yet the drive up. Of course, there are a million things that can happen in a million different ways. You must be able to asses the situation and make good judgements, often on the fly.
- Mt. Hood Climber’s Guide by Bill Mullee
- USDA – Mount Hood Summit
- Oregon Field Guide – Mt Hood
- Wikipedia – Timberline Lodge
- PDXHistory – Mt Hood
- OPB – Mt. Hood Fans Celebrate Pittock’s First Climb 150 Years Ago
- Mazamas.org – Climbing Mt. Hood FAQ
- TrimbleOutdoors – Mount Hood via South Side Route
- The Mountain Shop – Climbing Mt. Hood
- Oregon.gov
- AndrewSkurka.com
- MtHood.info – FAQ
- TimberlineLodge.com – SkiTrails Map
- SummitPost.org – Mt Hood
- OregonLive.com – Mt Hood Deaths Since 1883
- Volcanoes.usgs.gov – First Ascent of Mt Hood 1854
- Portland Mountain Rescue – Beacons Explained

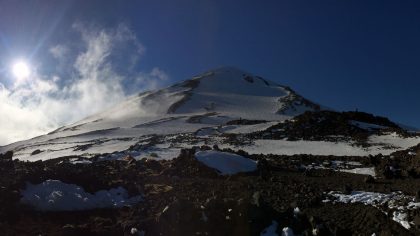
Looking to climb up to the summit on the 21st of May in the early am (weather permitting) and snowboard down in my mountaineering boots. Going solo as I am in Portland on a work trip. Any update from those who may have been there this month?
I was going to bring an ice axe but can also bring a second tool if it is still necessary. Anyone has any update on how the upper section looked in the past couple of weeks? I assume it’s best to leave the board below the Old Chute to make the descent safer?
Also, from what I understand the Wilderness Permit can be acquired at the lodge the morning/night of the trip? Is it pretty clear where to leave the vehicle, etc?
Thank you for the advice! Great website.
Hi there! I’ve been researching south side routes for the last few months, and this by far is the most helpful guide I’ve come across! (Currently waiting on Mt Hood A Climber’s Guide by Bill Mullee to arrive, too). My group of 4 is planning an attempt right after Memorial Day. Collectively, I’d say we have a fair amount of mountaineering experience (three of them have been on Chikung Ri in Nepal and summited Rainer via Disappointment Cleaver, and we have all attempted multiple routes on Shasta, plus other high altitude hiking peaks). Anyhow, would you say it’s reasonable to familiarize ourselves with all three of the south side routes (Old Chute, Pearly Gates, WCR) and make a “game time” decision based on conditions and number of other climbers on route? It would be a new method of trip preparation for us, as we generally pick a route ahead of time and plan thoroughly based on that decision. Not sure if preparing for all 3 would be too overwhelming, or a smart idea in terms of having that flexibility. Appreciate any insight!
You’re on the right track. Be able to identify those three routes and then evaluate which route will be most feasible on the day of the climb. This year there have already been a few accidents on Mt. Hood. I haven’t been up since February of this year, but I recall it being very steep at both the Pearly Gates and Old Chute. Most people who summited used two ice axes and/or ice tools. Considering your experience, I think you’ll find the first 80% of the climb to be very straightforward. it’s just the last 20% that will need to be evaluated carefully to figure out which route up to the summit makes sense. There should be plenty of people climbing this time year that you’ll be able to chat with and see which routes people are taking.
Hey guys, I am planning on summiting in mid may hopefully. Do you think ropes are a requirement during this time? Well have a 3-4 man group.
Hi Zach, it’s not a bad idea. This season the upper section above hogsback has been fairly steep. When we attempted a summit earlier this year most successful summits were folks that either had two ice axes or were roped up.
Hi Aaron- I am looking at climbing May 2nd, when you say the upper sections above hogsback does that include the Old Chute? I am soloing and usually just use a single ice axe, so was looking for the less steep option. Thanks!
Hi Derek,
Yes, Old Chute and Pearly Gates. Usually Old Chute is less steep, but it can vary from season to season.
Hello, thank you for maintaining this site. It’s very helpful! I’m a beginner climber with only hiking experience, and I’m the only person in our traveling crew who is interested in climbing. I’m physically fit, but concerned about doing something stupid. I’ll be climbing in late June, and while I don’t want to do a guided hike, I’m curious if there’s a way for solo hikers to link up at the lodge or online and climb together in order to help each other.
Hi Jannah, much appreciated, thanks for visiting our humble site!
While we have seen solo climbers on Mt. Hood, if it’s your first time climbing it would be a good idea to bring someone who is experienced and has climbed the south side route before.
There are a Facebook hiking groups that you could join and see if there are any folks looking to band together for a climb.
If you’re feeling a bit more adventurous you could try climbing on a nice weekend in spring and generally you’ll never be away from other people. There’s usually a lot of people climbing the south side routes in spring.
Hope this helps!
Summited July 6th. Great weather and conditions. Got a late start (2a), but was able to make it up by 8. Decent amount of the mountain above crater rock is melted. More of devils kitchen is exposed, and Old Chute seemed a bit steeper of a degree than normal. Once the sun pops over the ridge the mountain does heat up quick. After 9a there was semi constant rock/ice fall. Mostly insignificantly sized pieces but there was a basketball size once that flew passed me at a high enough velocity that I definitely picked up my pace. Below the hogs back, there we no rock/ice fall issues. Probably only -10 people in total on the mountain that day. Was envious of all the skiers as that definitely seems like the more efficient way to get down :). Great trip, and this is a great guide!
Great trip report – Thanks for posting!
I have done Adams and it wasn’t bad at all. With Mt hood I constantly go back and forth on whether to summit it or not. How steep is it? Sometimes I look at videos and think meh it’s not too bad and other times I look at it and think holy crap it looks extremely steep. I’m not worried about the fitness aspect and I have all the necessary gear. Safety is always the concern. Crevasses are also a concern.
This is a good question. It’s tough to answer because the conditions changes from year to year and also the month of the year. Reading recent trip reports is often the best way to get an idea of what conditions are like in that last 500′ through Pearly Gates or Old Chute. I’ve seen Pearly Gates be just a ‘walk up’ in some instances and at other times it will have a high pucker factor requiring two ice axes and ropes. Depending on the conditions of Pearly Gates, Old Chute might be an easier approach, but again it can vary significantly depending on conditions.
The only significant crevasse to worry about is the Bergschrund at the top of the Hogsback. It’s usually very easily identifiable later in the climbing season.
Hey there Aaron, thanks for your time and effort to make this blog, it is so informative and really helpful for planning a ascent up Hood. I am planning on summiting with a small group of semi experienced guys next weekend for the Solstice. Our plan is to set basecamp at the Saddle Friday night and summit for sunrise Saturday morning. The route I plan on taking is through the Pearly Gates and ski down the Old Chute back to the Saddle. I am wondering how long the hike from Illumination Saddle to summit would take, I was estimating 2 hours. Does that seem reasonable? Also what are your thoughts of skiing the Old Chute this time of year, obviously it’s not going to be south facing corn at 6am, would it be worth descending a little later to get the extra turns in? Thanks for your help!
Hi Joshua, it should be great weather next weekend! Your estimate from Illumination Saddle to Summit seems reasonable. Recent trip reports should provide some indication of conditions. In late May someone skied from the summit via Pearly Gates (https://www.summitpost.org/mount-hood/climbers-log/150189).
Great read, my Daughter just moved to Portland and I decided to go checkout Mt. Hood. Knowing nothing about the mountain and not researching I found myself at Timberline Lodge Parking lot around 10AM. I decided what the heck let’s go hiking, tennishoes, shorts and a Hoodie. I made my way up past the last ski lift drop off. Not probly got midway between the lift and Hogsback and decided that was as far as I needed to go. Set there for a while, took some pics, and pretty much told myself I want to come back and do this the right way! I have a feeling I should have never went up that Mountain. I live in Arkansas and we really have no place around here to train for that kind of Climb. I have kinda set a goal to get back out there and try and make the full ascent. I will be coming back to this page/article a lot. Seams like it was 1:30PM when I got back to the car.
Sounds like a fun adventure! Sometimes you just have to put on your best pair of shoes, get outside, and explore. If you enjoy the Mt. Hood area I highly recommend Timberline Trail (circumnavigates Mt. Hood). The best views, of course, will be at the summit of Mt. Hood. Make sure to plan your climb carefully though, conditions can change rapidly on the mountain.
hey there looking to summit next week. i can’t find anything on an overnight then summit. has anyone had experience taking the lift, sleeping overnight and then summit next morning?
How many days (on Average) does it take to reach the peak of mt mood.
Less than a day.
Mt. Hood climbs can take between 2 – 24 hours round trip, depending on your schedule. Most climbers want to be done in a day and, unless you are planning on setting a speed record, that means leaving in the early morning and returning in the early afternoon. Typically climbers leave the Timberline Lodge parking lot between 11pm and 2am. Someone who has prepared properly to climb can average 1,000 vertical feet per hour, at that rate it will take a little over 5 hours to summit.
A start time should be established based on an estimated pace and your desired summit hour. It is strongly recommend that you summit no later than 8am to avoid peak rock and ice fall hours. If you are in good shape and have trained to climb Mt. Hood you can estimate 4-7 hours to summit. Other climbers should prepare for a longer climb, maybe 6 – 9 hours.
I saw a video of some well prepared and experienced guys climbing to the top of Hood and skiing down. Is it possible to ride the lifts at Timberline to their max point and then hike from there? And if so, what’s the safest and most fun way to return to the ski area without pissing off the ski patrol?
Yes, but it’s likely not the best option if you want to reach the summit safely. It’s recommended to get an ‘alpine start’ when climbing Mt. Hood due to the instability of the ice/snow above the Hogsback. An alpine start for Mt. Hood typically means starting the climb from Timberline Lodge at around 2 or 3am. The ski lifts are not operating at this time. Typically the lifts run between 9am and 4pm and hours may adjust depending on weather.
I’m a novice climber (0 climbs) who has caught the mountaineering bug. Is this a climb I can accomplish solo in Jan-March?. Thanks in advance.
Steve
Bad idea. If you have not snow climbed before, I would assume you do not have the knowledge/skills to do a self-arrest with an ice axe. Weather conditions could easily be bad and upper slopes quite icy. Consider getting linked up with a mountaineering group like the Mazamas, Chemeketans or Obsidians.
I would not recommend attempting Mt Hood as a solo climb. Especially at the upper elevations (above 9k’). First time climbers should successfully summit Mt St Helens, South Sister, or Mt Adams before attempting Mt Hood. I would also highly recommend not going alone. Bring someone who has some mountaineering experience or get with a professional climbing group.
Wow! This was really great information and I personally appreciate the time taken to put this together. Going in late July 2019 as that’s the only time of year I can get up there.
You’re very welcome, I’m glad that this guide was able to assist you.
I’m planning the climb on July 5th. Will there be plenty of hikers?
Mark, I planning on climbing Mt Hood solo July 5 as well. I hear there will be a conga line of people climbing this weekend.
Yes, holidays tend to bring more climbers to the mountain.
How often would you recommend the use of a running belay on the South side on a busy weekend like Memorial Day? All in our group have spring and some winter couloir experience on 13/14’k peaks in Colorado and, though not in PNW snow conditions. We respect the mountains and the dangers that each poses, so I was curious if you felt roping and anchoring up would be more helpful than not in these scenarios with bounds of humans.
This is a really good question that deserves more attention than I’ve given it in this article – especially for Mt. Hood.
The last 500-700′ from the top of the Hogsback through the Pearly Gates and Old Chute routes is where a running belay can be useful, however conditions will ultimately determine if it’s necessary. Mt. Hood has a reputation for being particular deadly for climbers in this final section, and more often than not it’s due to sketchy footholds on rotten rime ice on steep grades. This time of year, as the weather warms up, you still have a mostly stable snow pack however this does attract a lot of climbers, especially on Memorial Day.
If you have a team that is experienced in working as a unit on a belay this would decrease your risk of a fatal fall and increase your chance of a successful summit. If you’re traveling all the way from Colorado and you have the skills and the gear – you’re better off having the option of roping up rather than encountering conditions where roping up would be required and not having the gear with you.
Not just when avalanche danger is high….whenever there is any avalanche danger at all.
Thanks – Article has been updated.
If there is avalanche danger, you need to bring an avalanche beacon, a shovel and a probe. Just a probe would be useless.
Good tip, Ryan! It’s ideal to have all three items on a climb when the avalanche danger is high.